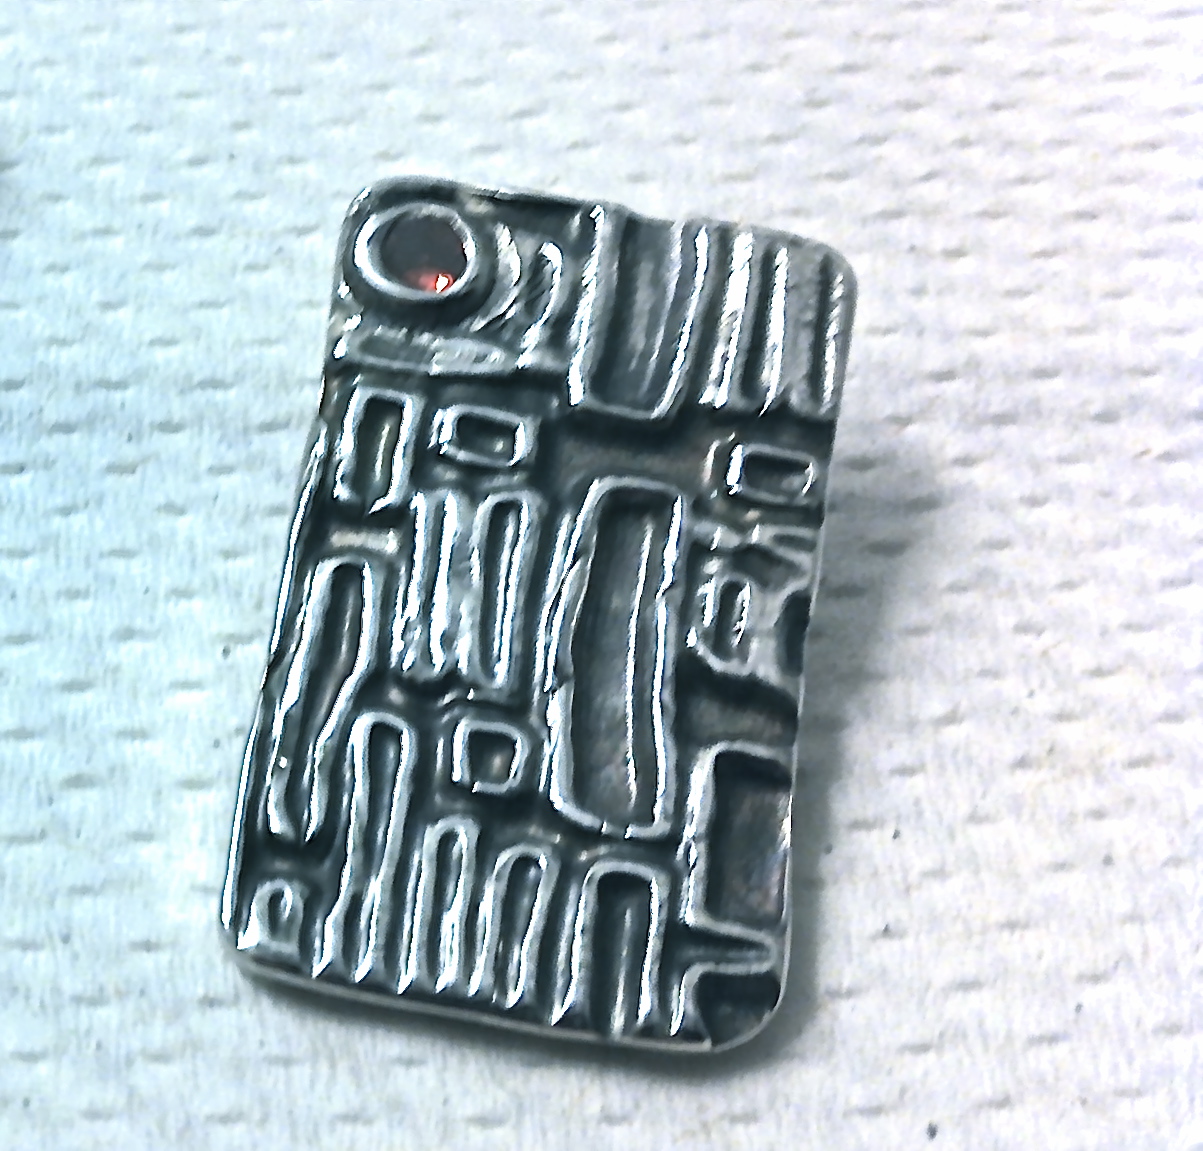
Back in December, I posted about using a tumbler to polish up your finished pieces in an article titled: Tumble & Shine (that post can be read here.) As the pieces rotate in the tumbler they are surrounded by steel shot and cleaner, this means there is always the chance of that shot getting lodged in open areas, whether it is an enclosed bail or openings in a hollow form. I'll admit that I'm the first to throw caution to the wind and opt for taking the risk of running an item through the tumbler to see what happens. I have a series of hollow organic forms that have a lace-like outer-surfaces that always trap the shot. In these cases I usually end up trying to pick it out with small tools or simply sitting at my bench and shaking and shaking (and sometimes cursing) and then shaking some more until I get them all out. After seeing my pieces, another jewelry artist asked if I was tumbling them and suggested I try putting pipe cleaners through the openings to block the shot. Above, you can see they look a little silly, but were well worth the suggestion. They tumbled for about 3 hours and the pipe cleaners held up fine. I was suspicious that the one on the right that was full of openings and now surrounded by pipe cleaners might not get much benefit from the tumbler, but I was wrong. I did intentionally leave the pipe cleaners wide open to allow the shot in and it worked, tumbled up nice and bright. In the piece on the left the pipe cleaner is run through the bail, twisted to stay in place and then the end was bent in to prevent it from scratching other pieces being tumbled. In the piece on the right, the ends of the pipe cleaners are forced into the openings and bent into positions to hold themselves in place, I was expecting some to have fallen out by the end of the tumbling, but they were fine. This was a great tip that should save me a lot of time in the future!
Sunday, April 7, 2013
Tool Tip: Taming the Tumbler Shot
Labels:
Art Clay Silver,
Base Metal Clay,
Bronze Metal Clay,
craft,
Jewelry,
Lortone,
Metal Clay,
PMC,
Polish,
Shine Brite,
Tumble,
Tumbler
Sunday, March 24, 2013
Liver of Sulfur Patina
I tend to use glass bowls when working with different chemicals in order to reduce the potential for reaction and ensure they are able to be cleaned when done. Remember, once something has been used in the art studio, it should never go back to the kitchen for food use. Liver of Sulfur should be used in a well ventilated area because it stinks (like sulfur). Either your Liver of Sulfur solution or the metal should be hot in order to improve the reaction. Depending on how strong you mix the solution, metal in the general area (like rings on the hand mixing the solution) can react to it in the air, so consider removing your own jewelry before you begin.
I dissolved a small lump (a very small pea-sized piece) of Liver of Sulfur in about a cup of very hot (not boiling) water in a glass dish. In the dish next to it I had cold water and Baking Soda to serve as a stop-bath. I ran yarn through the bails to keep my fingers clean, dropped each piece in, it only takes seconds to get a rich black, pulled them out and dropped them in the stop-bath. Liver of Sulfur has a wonderful range of iridescent blue to deepest black, so if you watch it close you can pull the piece out and stop the reaction at the exact color you are looking for. After a quick dip in the stop-bath, they are rinsed, dried and ready to be finished.
Above, you can see that the pieces have a rich black patina, so it is time to start bringing back the highlights to show all the depth in the texture. I prefer to use very fine steel wool to buff the raised areas of the piece. Below you can see a finished piece with more defined texture and antiqued look. Remember to follow the recommendations on the package for disposal of Liver of Sulfur solution once you are finished with it. The best part is that if you are unhappy with it, you can toss the piece back in the tumbler (or go at it with any variety of buffing/sanding tools) and strip the patina off to start again.
Labels:
Art,
Art Clay Silver,
craft,
Jewelry,
Liver of Sulfur,
Metal Clay,
Patina,
PMC,
Silver,
Silver Magpie Studio,
silver pendant
Sunday, March 10, 2013
Barrel Bails
I recently spent some time playing with designs for barrel shaped bails that would sit behind and on top of small geometric pendants I had been creating. They were all part of a small series that I wanted to keep unified, so I needed a versatile design that would fit the varying shapes, while staying visually cohesive. For these pieces, I began by rolling out a sheet of metal clay 3 cards thick. I cut it into a long rectangle, wrapped it around a straw I had rubbed with olive oil and sealed it's seam. I let it stiffen up for just a few minutes before beginning to slice it on the straw. I held my knife in place and rolled the straw to get an even cut. I then spaced out each of the pieces and set them to dry in place on the straw. Once they were bone dry, I gently slid them off and sanded them before attaching them to my dried pendants with slip. Starting with the longer piece and cutting it apart allowed me to make several pieces at once and vary their sizes to fit the individual pendants they would be attached to. It was important to cut them on the straw in order for the clay to stay supported and not collapse under the pressure of the knife due to its hollow center.
Labels:
Art,
Art Clay Silver,
Bails,
craft,
Hidden Bails,
PMC,
Silver,
Silver Magpie Studio,
silver pendant,
Studio
Sunday, February 24, 2013
Whimsical Tree Mural
This week the studio went mobile as I traveled to do a very special mural for a very special little girl. Working with her parents, we developed a whimsical tree with floating pink leaves to adorn her walls. This sort of project is not nearly as intimidating as it may seem. Decal Murals are pretty popular today, but also pricey. The cost of paint for this project was under $25 and it was completed in one day. Below you can see the stages of the mural's development. You can see I started with a simple pencil sketch right on the wall, if you are not comfortable free-handing your image, project it on the wall and trace it.
Keep the image and the color simple. The tree trunk is done as a silhouette in brown, this was a huge time saver since I had only one day to complete this piece from start to finish. I am using latex wall paint for the large brown area and Martha Stewart Pearl Accents Craft Paint for the leaves (the pearl paint has a really lovely shine as it picks up the light). The larger leaves were done from stencils I cut from manilla folders and dry brushed multiple colors on at the same time. There was a plan for the larger leaves and then it became more intuitive as I played with where the smaller leaves would float around the closet. To fill in the rest (and save hours of time), I cut a medium and small leaf out of a sponge (just using scissors) and simply stamped them on the wall. The finishing touch can be seen in the image on the below right, as that special little girl got put to work and left her own marks among the leaves.
Labels:
Art,
Bedroom Design,
Botanical,
craft,
Martha Stewart Craft Paint,
Mural,
Nursery,
Silver Magpie Studio,
Sponge Paint,
Stamps,
Studio,
Trees,
Wall Mural
Sunday, February 3, 2013
Frosty Patina
This dome shaped piece was developed as part of my series of reflective pendants inspired by the ocean. Finished on a cold January evening as the east coast plummeted into a deep freeze, the frosty patina on its surface is reminiscent of the wintery afternoons I have spent watching the waves crash on the Narragansett beach with my mother. To achieve this frosty, swirling patina I began with black alcohol ink and mixed a few drops of snowcap white alcohol ink binder. This creates a dark bluish ink that is thick and dries very quickly. I painted it on and let it dry, but was unhappy with how dark the patina came out. I dropped the piece in a cup of rubbing alcohol to remove the color and it began to lift off in layers. This was a very different effect than I have seen in the past when removing this ink and assume it is due to mixing it with the binder. When it reached this particular shade of ice blue with some dark areas creating depth in its crevices, I pulled it out and stopped the reaction. I'm excited about the potential this process has in creating varied layers of value with the inks and will be experimenting with other colors in combination with the binder.
Labels:
Alcohol Ink,
Art Clay Silver,
craft,
Metal Clay,
Narragansett,
Ocean,
Patina,
PMC,
Silver Magpie Studio,
silver pendant,
Waves
Sunday, January 20, 2013
Metal Leaf Case

Labels:
Alcohol Ink,
business card holder,
craft,
metal leaf,
recycle,
Silver Magpie Studio,
Studio
Sunday, January 6, 2013
White Bronze Continued
For those of you keeping track, this is my fourth test fire with White Bronze. Those first three trials can be seen in last week's post. After contacting the manufacturer, I took their specific notes on my previous firing trials and began by elevating the firing vessel even higher. I increased it's height by adding another set of stilts so that its rim sat just below the top of the kiln. This was recommended since even in my small counter top kiln the difference in temperature from floor to lid can be 300 degrees. My next step was to do both phases of the firing with the pieces buried in the coconut carbon, it was stressed that White Bronze MUST be buried even for the binder burn off phase with the lid off the vessel. Since both phases are being done buried in the carbon in the kiln, there was no need to cool in between, so I took the recommendation of the following schedule:
PF1:1000F
HOLD:2hrs
RA2: Full
PF2: 1250F
HOLD:2hrs
RA3: 000
START
The above image on the left shows the char on top of the carbon after the completed firing had cooled. This time I definitely smelled more of a "campfire" smell from the kiln than the previous firings, so I do believe it got significantly hotter. On the right you can see the test pieces out of the kiln, they already appeared stronger. There were no cracks and they handled well, so I had hope that the firing had been successful. I took some 220grit sandpaper to the test pieces and removed enough fire scale to reveal a metallic interior. As I had found out last week, the water drop test does not apply to White Bronze and the way to check is to sand with 220 grit to reveal the bronze, without small particles coming off. I was really excited and gave the pieces a wiggle with my fingers, at which point they each snapped in the middle.
Grrrrrrrrrr!
So back to the drawing board. What I do know is that the carbon burned hotter this time and the binder appeared to successfully burn out. What I don't know is whether the White Bronze was at its full firing strength. The other thing I learned last week was that even when fired properly, it is very fragile and should really never be used alone. It was recommended that it be used in combination with other materials for strength. If it is used alone and fired successfully, customers need to be warned that it is a very fragile material and does not have the traditional strength expected from metals meaning the introduction of other tools such as hammers or pliers would result in it breaking, as well as if it is dropped on a hard surface. My question still remains as to whether or not I should be able to break it with my fingers. I plan to email these results to the manufacturer to see if this really is the brittle level of this material or if I should slowly bump the second phase firing by 10 degrees. I will keep you posted...
Labels:
Art Clay Silver,
Base Metal Clay,
Bronze Metal Clay,
coconut carbon,
Jewelry,
Metal Clay,
PMC,
White Bronze
Subscribe to:
Posts (Atom)


