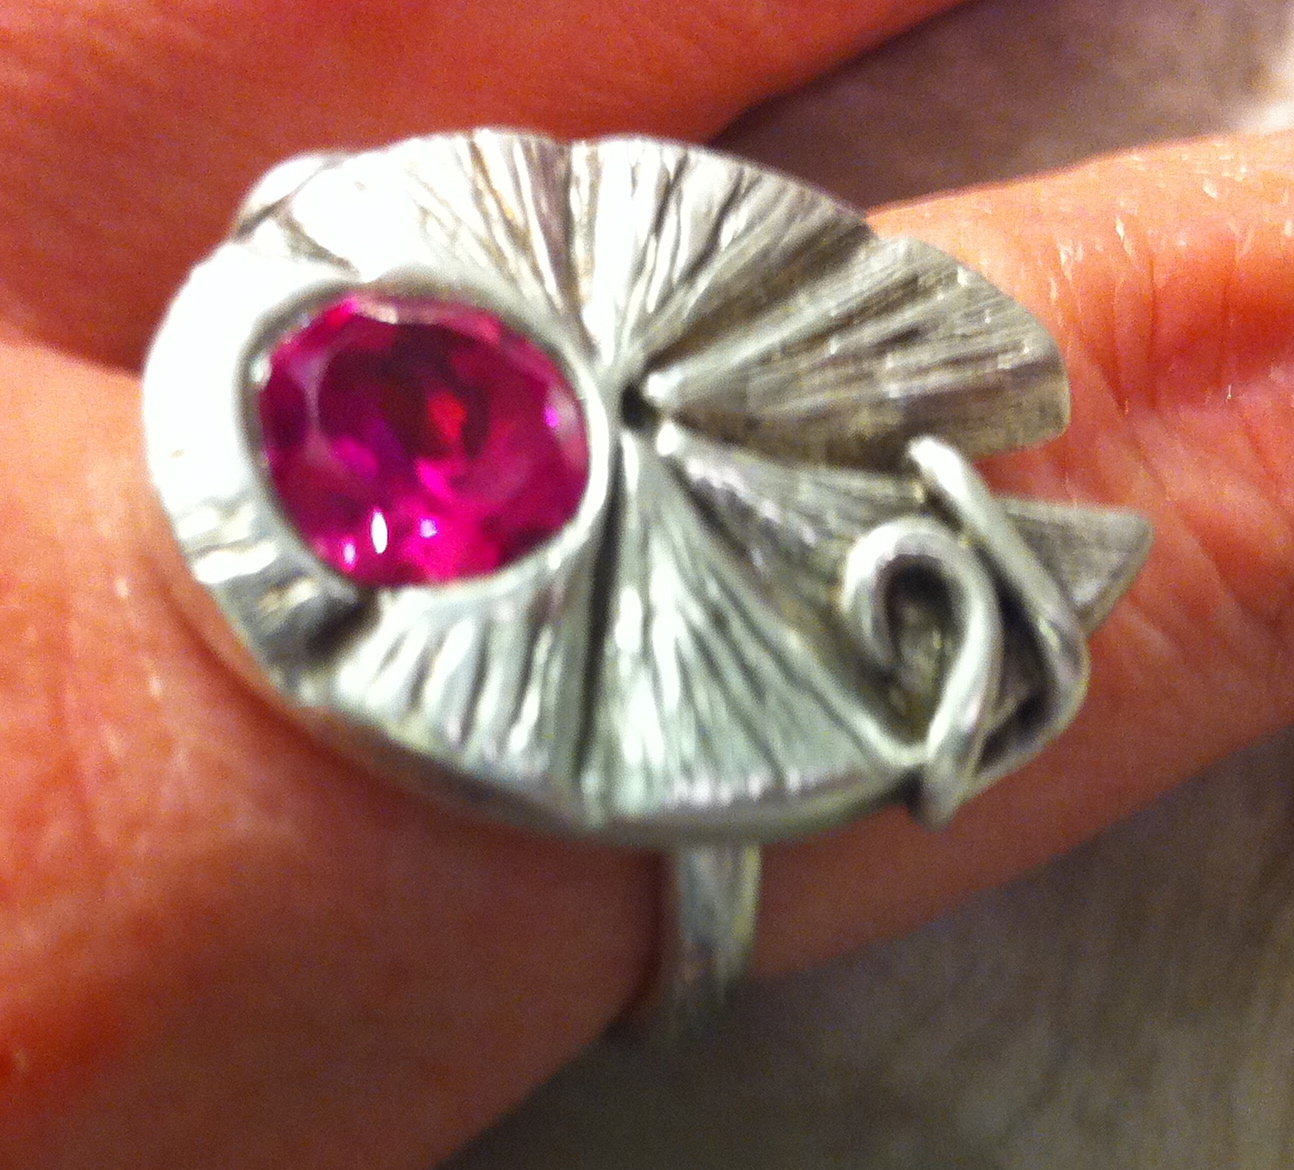
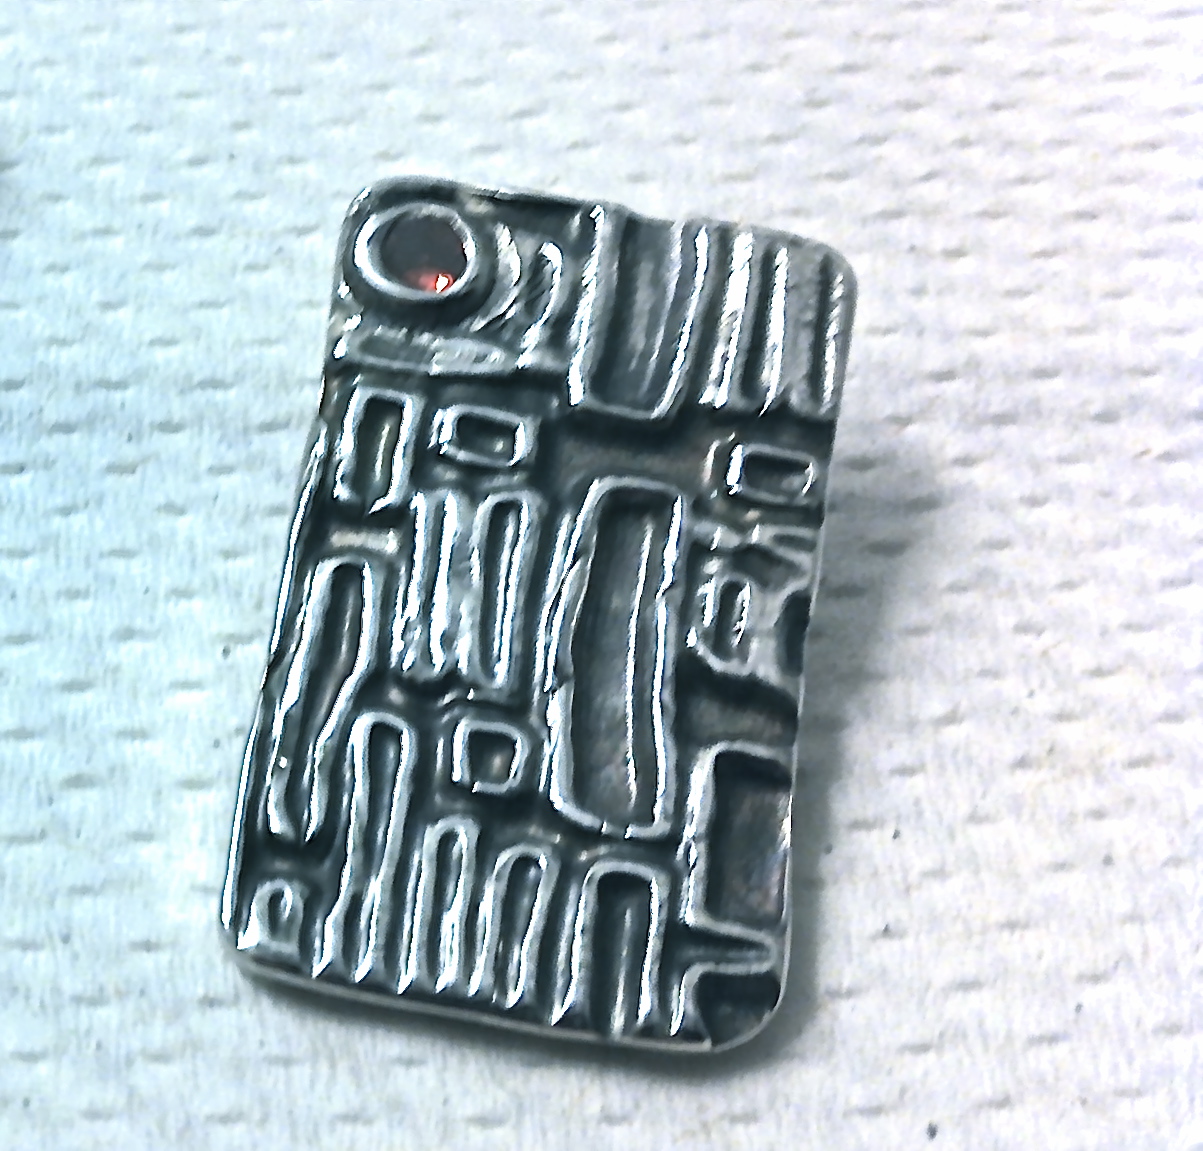
That great antiqued look that really gives textured metal a sense of depth often comes from a simple (and super quick) patina of Liver of Sulfur. Liver of Sulfur comes in dry lump form and gel form. The dry lump form has a shorter shelf life, impacted by light and moisture, though kept in light proof and dry conditions I have had no problem with it working long term. Below are images of my use of Liver of Sulfur to patina some recent pieces, obviously you should follow the directions that come with the brand you purchase, but you can get an idea of the process and results from the below post.


I tend to use glass bowls when working with different chemicals in order to reduce the potential for reaction and ensure they are able to be cleaned when done. Remember, once something has been used in the art studio, it should never go back to the kitchen for food use. Liver of Sulfur should be used in a well ventilated area because it stinks (like sulfur). Either your Liver of Sulfur solution or the metal should be hot in order to improve the reaction. Depending on how strong you mix the solution, metal in the general area (like rings on the hand mixing the solution) can react to it in the air, so consider removing your own jewelry before you begin.
I dissolved a small lump (a very small pea-sized piece) of Liver of Sulfur in about a cup of very hot (not boiling) water in a glass dish. In the dish next to it I had cold water and Baking Soda to serve as a stop-bath. I ran yarn through the bails to keep my fingers clean, dropped each piece in, it only takes seconds to get a rich black, pulled them out and dropped them in the stop-bath. Liver of Sulfur has a wonderful range of iridescent blue to deepest black, so if you watch it close you can pull the piece out and stop the reaction at the exact color you are looking for. After a quick dip in the stop-bath, they are rinsed, dried and ready to be finished.

Above, you can see that the pieces have a rich black patina, so it is time to start bringing back the highlights to show all the depth in the texture. I prefer to use very fine steel wool to buff the raised areas of the piece. Below you can see a finished piece with more defined texture and antiqued look. Remember to follow the recommendations on the package for disposal of Liver of Sulfur solution once you are finished with it. The best part is that if you are unhappy with it, you can toss the piece back in the tumbler (or go at it with any variety of buffing/sanding tools) and strip the patina off to start again.