Showing posts with label Patina. Show all posts

Sunday, May 19, 2013

Carving in Metal Clay


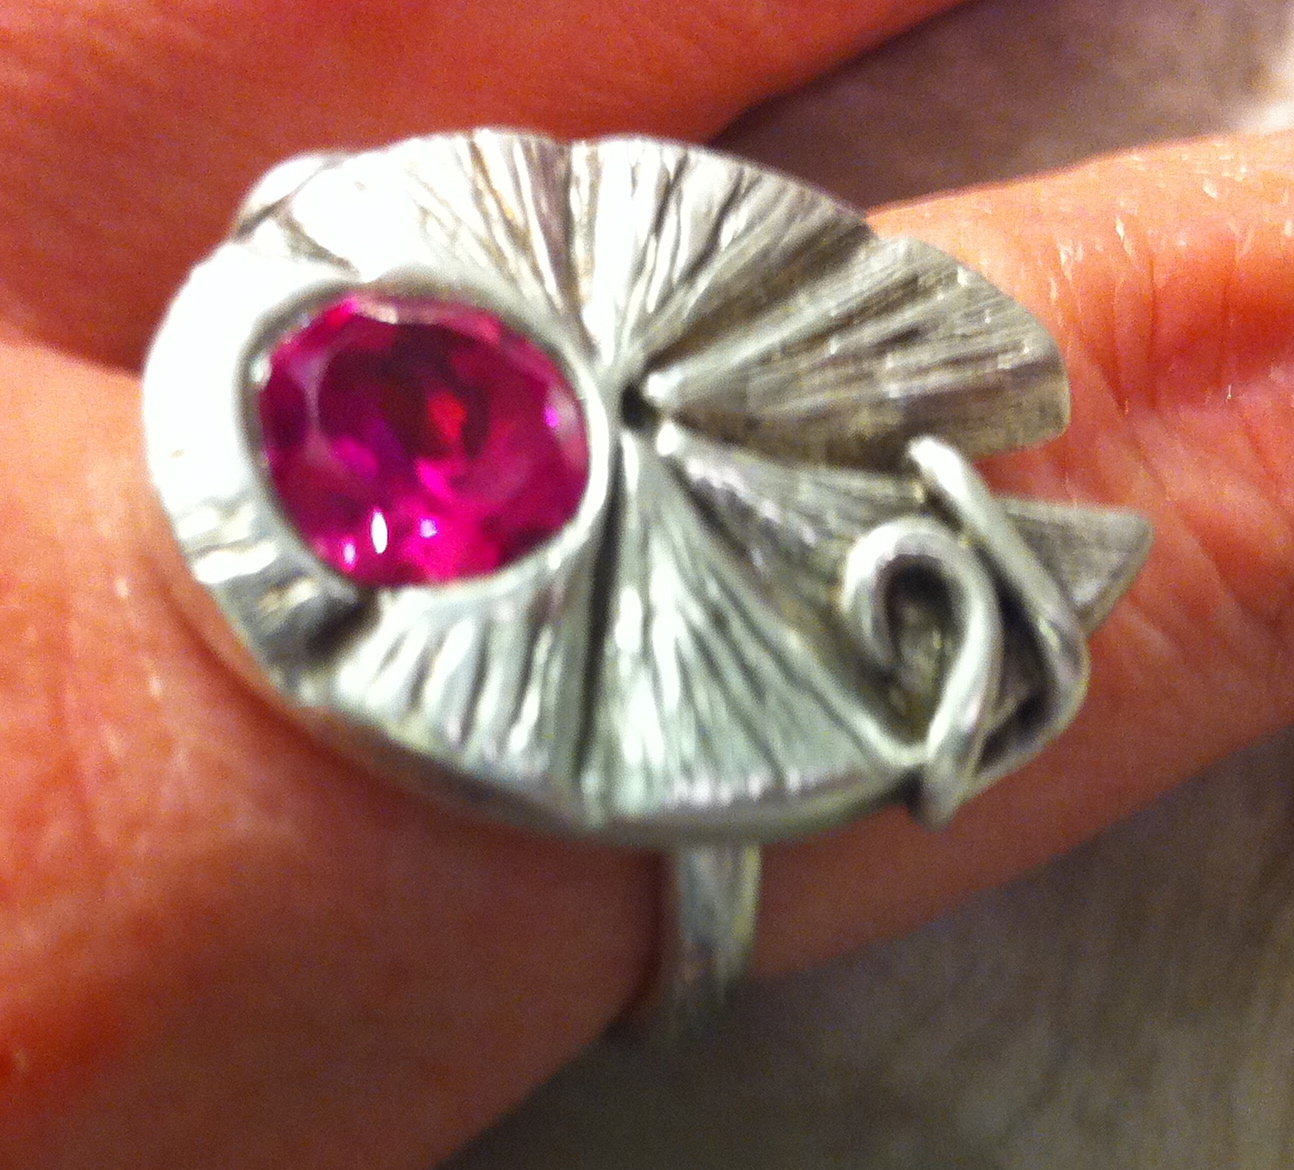
This week's challenge was to translate a carved design into the top of a ring.  I was inspired by this bright pink 8mm CZ and couldn't resist the temptation to nestle it safely into a lily pad.  The perfect pink floral accent to the top of this piece.  I balled up my clay and squished it into a flat pancake the same height as the CZ.  I poked a hole with a straw and sank the CZ in until the top of the clay surrounded it.  I then cut out my initial shape of the lily pad and let it dry.  Once bone dry, the clay is very easy to carve, especially at this thickness.  I find that small diamond files are the best carving tools in this dry material.  It has a similar feel to plaster carving.  I began with my general design and deeper lines and then carved the more detailed texture, each time lightly scratching or "drawing" in my design before begining to file.  The secret is no pressure.  The tools are sharp and just need to be trusted to do their job.  I added a coil to keep the eye moving around the piece and finished the ring with a liver of sulfur patina to bring out the richness of the texture.

Sunday, March 24, 2013

Liver of Sulfur Patina


That great antiqued look that really gives textured metal a sense of depth often comes from a simple (and super quick) patina of Liver of Sulfur.  Liver of Sulfur comes in dry lump form and gel form.  The dry lump form has a shorter shelf life, impacted by light and moisture, though kept in light proof and dry conditions I have had no problem with it working long term.  Below are images of my use of Liver of Sulfur to patina some recent pieces, obviously you should follow the directions that come with the brand you purchase, but you can get an idea of the process and results from the below post.


I tend to use glass bowls when working with different chemicals in order to reduce the potential for reaction and ensure they are able to be cleaned when done.  Remember, once something has been used in the art studio, it should never go back to the kitchen for food use. Liver of Sulfur should be used in a well ventilated area because it stinks (like sulfur).  Either your Liver of Sulfur solution or the metal should be hot in order to improve the reaction.  Depending on how strong you mix the solution, metal in the general area (like rings on the hand mixing the solution) can react to it in the air, so consider removing your own jewelry before you begin.  

I dissolved a small lump (a very small pea-sized piece) of Liver of Sulfur in about a cup of very hot (not boiling) water in a glass dish.  In the dish next to it I had cold water and Baking Soda to serve as a stop-bath.  I ran yarn through the bails to keep my fingers clean, dropped each piece in, it only takes seconds to get a rich black, pulled them out and dropped them in the stop-bath.  Liver of Sulfur has a wonderful range of iridescent blue to deepest black, so if you watch it close you can pull the piece out and stop the reaction at the exact color you are looking for.  After a quick dip in the stop-bath, they are rinsed, dried and ready to be finished.


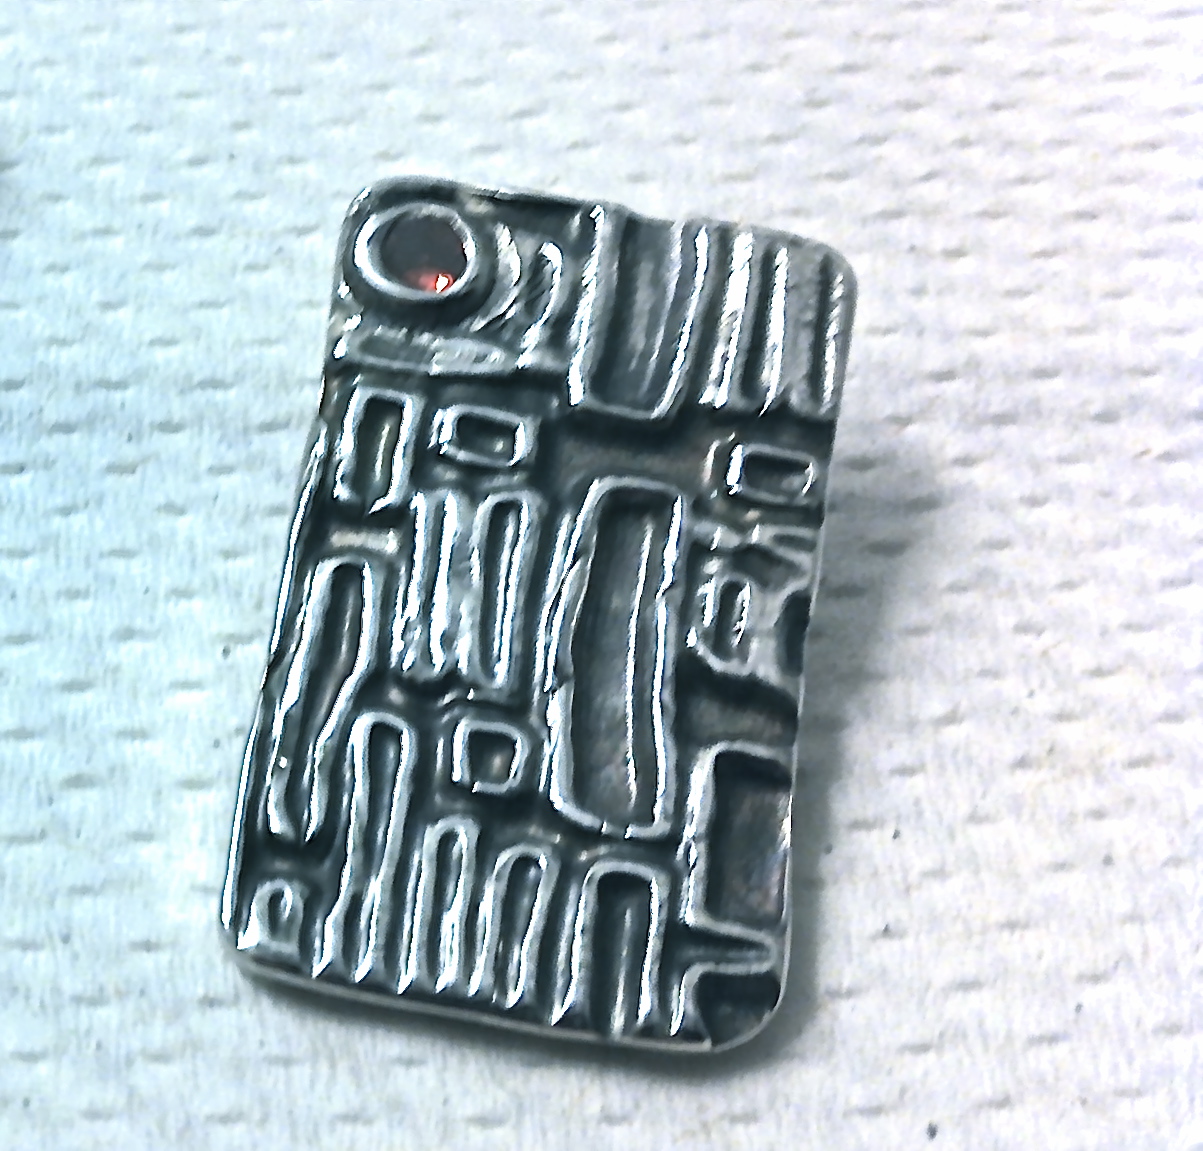
Above, you can see that the pieces have a rich black patina, so it is time to start bringing back the highlights to show all the depth in the texture.  I prefer to use very fine steel wool to buff the raised areas of the piece.  Below you can see a finished piece with more defined texture and antiqued look.  Remember to follow the recommendations on the package for disposal of Liver of Sulfur solution once you are finished with it.  The best part is that if you are unhappy with it, you can toss the piece back in the tumbler (or go at it with any variety of buffing/sanding tools) and strip the patina off to start again.


Sunday, February 3, 2013

Frosty Patina


This dome shaped piece was developed as part of my series of reflective pendants inspired by the ocean. Finished on a cold January evening as the east coast plummeted into a deep freeze, the frosty patina on its surface is reminiscent of the wintery afternoons I have spent watching the waves crash on the Narragansett beach with my mother. To achieve this frosty, swirling patina I began with black alcohol ink and mixed a few drops of snowcap white alcohol ink binder.  This creates a dark bluish ink that is thick and dries very quickly.  I painted it on and let it dry, but was unhappy with how dark the patina came out.  I dropped the piece in a cup of rubbing alcohol to remove the color and it began to lift off in layers.  This was a very different effect than I have seen in the past when removing this ink and assume it is due to mixing it with the binder.  When it reached this particular shade of ice blue with some dark areas creating depth in its crevices, I pulled it out and stopped the reaction.  I'm excited about the potential this process has in creating varied layers of value with the inks and will be experimenting with other colors in combination with the binder.

Sunday, December 23, 2012

Alcohol Ink Patina on Metal Clay


As I got to the finishing stages of this series, I knew I wanted to really bring the texture out and that the best way to do that was with a patina.   Liver of Sulfur is a traditional way to get a variety of tones, but requires precise timing for colors beyond black and a strong stomach as it does stink up the immediate area.  In looking for another option, I began experimenting with alcohol ink on the recommendation of a friend and have really been happy with the results.  Alcohol inks are sold in the scrapbooking section of most craft stores.  They are a solvent based ink and work great on non-porous surfaces, from metal to glass to super glossy paper and they come in dozens of colors.  I wanted to antique this piece with turquoise tones to really draw on its references to the ocean.  I took my fired and polished pendant and just touched the tip of the ink bottle to the surface and let the ink run through the crevices of the texture.  It only takes a few moments to dry and then I start buffing it off with a super fine piece of steel wool.  I also like to dab a little on my maker's mark on the back to pronounce it a little more.  I clean up edges and brushes (if I use them) with rubbing alcohol.  Remember to protect anything you don't want to be stained by this ink, such as findings or stones.  Since I am using the ink as a patina that sits down inside the texture and all the ink has been removed from the surface, I do not seal it because it is no more likely to rub off than a liver of sulfur or other such patina.