Showing posts with label Silver. Show all posts

Sunday, June 16, 2013

Repoussé Effects in Metal Clay


Repoussé is a traditional metalworking technique where a raised or relief surface is created on the front of the metal by hammering a design from the back of the metal.  It is a french term whose origins mean to push from behind.  It is often used along with another traditional technique called "chasing" where the design is then sharpened or refined from the front by sinking in the metal on that side.  The effect of repoussé and chasing creates what is often referred to as embossing.  You are dealing with the elastic qualities of a malleable metal, so there is no actual loss of metal. 


This is a relatively simple technique to replicate in metal clay while the material is in its clay state.  It is a great way to incorporate original designs and textures, even for the beginner artist.  You will need something to create your impression with, the pieces in this post were done using scratch foam, so that is the process I will focus on here.   Scratch foam is a popular and economic material used in basic printmaking.  If you think it is an elementary school material, check out the sophisticated prints by artist Annette Mitchell who is able to get woodcut-like imagery from recycled meat trays.  If you can not find it at a local craft store, you can always use cleaned foam trays from the supermarket.  Just cut yourself a square to work with.


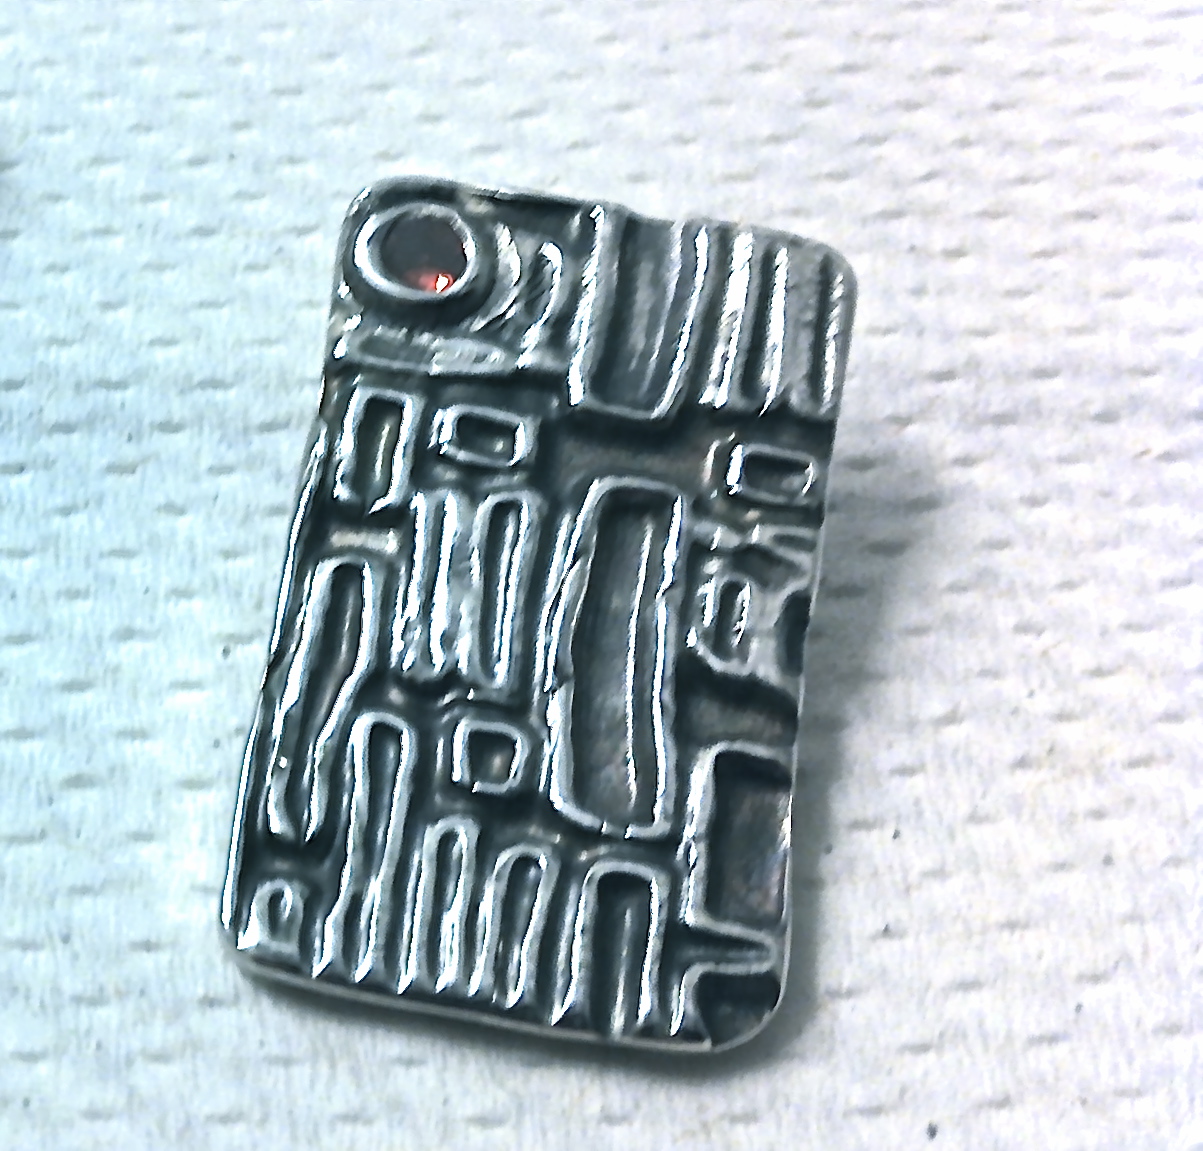
Begin by working out a simple design.  I did a series of pieces based on swirling cloud patterns, they all began with the same frame, but I played with the interior a little differently on each piece.  I like working out designs like this on tracing paper so that I can quickly replicate elements I am happy with.  I then tape the tracing paper to a piece of scratch foam and lightly go over it with a ball point pen, just enough to get a slight indent in the surface.  I then use an embossing tool to go over the lines, but maintain medium to light pressure.  Each time the lines will become more pronounced, but I don't end up ripping or wrinkling the foam.  As the lines get deeper, I change the gauge of the embossing tool if I want thicker lines.  The key is patience until you get a feel for the right pressure on the foam.  If you are looking simply to create texture sheets to emboss with, you can use anything you can dent the surface with from a comb to a meat tenderizer.  Keep in mind the scratch foam has a more "smooth" side and a more "rough" side, you will need to look closely at the foam to discern this, I recommend carving into the smooth side.  In any case, the surface of the clay will pick up the surface of the foam, which is more subtle on one side than the other.  


Once the design is carved in the foam, I lube the foam so the clay will eventually release.  I set my rolling slats (or cards) on top of the foam on either side of the design a little thicker than I want the piece to account for the raised areas.  If the piece of foam is too small to support the width of the slats, I lay additional slats (or cards) next to the foam to keep them even.  I then roll my clay into the design the same way I would roll it onto any other texture plate.  I then gently pull it off and trim the excess.  Once dry, they are fired and finished the same as any other piece.  The bonus of the scratch foam is that it is relatively inexpensive and fairly forgiving.

A few tips about scratch foam... 
If you chose the wrong side and this impacts your design (which you will be able to see as soon as you pull it off) simply smooth  your metal clay piece with a damp sponge - as long as you are light with your pressure it will clean up the surface without removing the embossing.   Also, remember this is a printmaking process - you are essentially creating a "stamp" that you are embossing your piece with so your design must be the REVERSE of what you plan.  In a symmetrical design this does not matter, but in the design of a piece like I did here it can make a difference.  I planned it backwards because I have done this enough times to think about it that way.  If you are not quite there yet, this is another good reason to workout designs on tracing paper, because you can then lay them on the foam on either side.  If you draw your design exactly the way you want it, you should then lay the tracing paper face down on the foam.  It will reverse the design on the foam and come out the way you intend in the clay.  Since it's tracing paper, you can see through it and can still easily trace it.


Sunday, May 19, 2013

Carving in Metal Clay


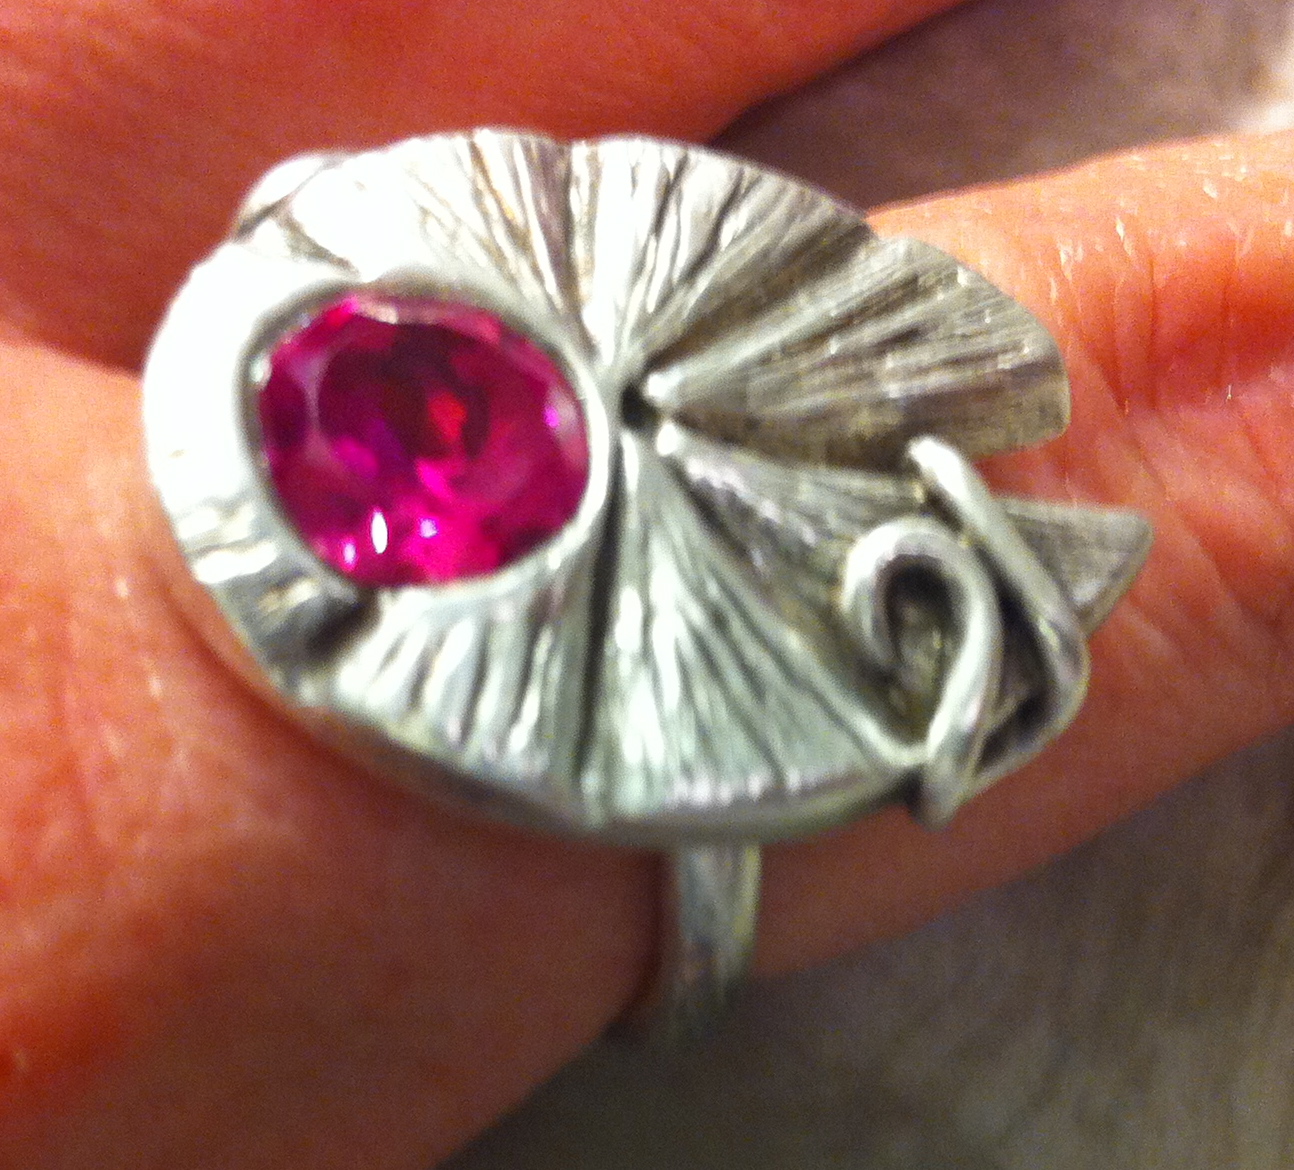
This week's challenge was to translate a carved design into the top of a ring.  I was inspired by this bright pink 8mm CZ and couldn't resist the temptation to nestle it safely into a lily pad.  The perfect pink floral accent to the top of this piece.  I balled up my clay and squished it into a flat pancake the same height as the CZ.  I poked a hole with a straw and sank the CZ in until the top of the clay surrounded it.  I then cut out my initial shape of the lily pad and let it dry.  Once bone dry, the clay is very easy to carve, especially at this thickness.  I find that small diamond files are the best carving tools in this dry material.  It has a similar feel to plaster carving.  I began with my general design and deeper lines and then carved the more detailed texture, each time lightly scratching or "drawing" in my design before begining to file.  The secret is no pressure.  The tools are sharp and just need to be trusted to do their job.  I added a coil to keep the eye moving around the piece and finished the ring with a liver of sulfur patina to bring out the richness of the texture.

Sunday, March 24, 2013

Liver of Sulfur Patina


That great antiqued look that really gives textured metal a sense of depth often comes from a simple (and super quick) patina of Liver of Sulfur.  Liver of Sulfur comes in dry lump form and gel form.  The dry lump form has a shorter shelf life, impacted by light and moisture, though kept in light proof and dry conditions I have had no problem with it working long term.  Below are images of my use of Liver of Sulfur to patina some recent pieces, obviously you should follow the directions that come with the brand you purchase, but you can get an idea of the process and results from the below post.


I tend to use glass bowls when working with different chemicals in order to reduce the potential for reaction and ensure they are able to be cleaned when done.  Remember, once something has been used in the art studio, it should never go back to the kitchen for food use. Liver of Sulfur should be used in a well ventilated area because it stinks (like sulfur).  Either your Liver of Sulfur solution or the metal should be hot in order to improve the reaction.  Depending on how strong you mix the solution, metal in the general area (like rings on the hand mixing the solution) can react to it in the air, so consider removing your own jewelry before you begin.  

I dissolved a small lump (a very small pea-sized piece) of Liver of Sulfur in about a cup of very hot (not boiling) water in a glass dish.  In the dish next to it I had cold water and Baking Soda to serve as a stop-bath.  I ran yarn through the bails to keep my fingers clean, dropped each piece in, it only takes seconds to get a rich black, pulled them out and dropped them in the stop-bath.  Liver of Sulfur has a wonderful range of iridescent blue to deepest black, so if you watch it close you can pull the piece out and stop the reaction at the exact color you are looking for.  After a quick dip in the stop-bath, they are rinsed, dried and ready to be finished.


Above, you can see that the pieces have a rich black patina, so it is time to start bringing back the highlights to show all the depth in the texture.  I prefer to use very fine steel wool to buff the raised areas of the piece.  Below you can see a finished piece with more defined texture and antiqued look.  Remember to follow the recommendations on the package for disposal of Liver of Sulfur solution once you are finished with it.  The best part is that if you are unhappy with it, you can toss the piece back in the tumbler (or go at it with any variety of buffing/sanding tools) and strip the patina off to start again.


Sunday, March 10, 2013

Barrel Bails


I recently spent some time playing with designs for barrel shaped bails that would sit behind and on top of small geometric pendants I had been creating.  They were all part of a small series that I wanted to keep unified, so I needed a versatile design that would fit the varying shapes, while staying visually cohesive.  For these pieces, I began by rolling out a sheet of metal clay 3 cards thick.  I cut it into a long rectangle, wrapped it around a straw I had rubbed with olive oil and sealed it's seam.  I let it stiffen up for just a few minutes before beginning to slice it on the straw.  I held my knife in place and rolled the straw to get an even cut.  I then spaced out each of the pieces and set them to dry in place on the straw.  Once they were bone dry, I gently slid them off and sanded them before attaching them to my dried pendants with slip.  Starting with the longer piece and cutting it apart allowed me to make several pieces at once and vary their sizes to fit the individual pendants they would be attached to.  It was important to cut them on the straw in order for the clay to stay supported and not collapse under the pressure of the knife due to its hollow center.