Showing posts with label Art. Show all posts

Sunday, June 2, 2013

FastFire BRONZclay Success!


After feeling a bit "burned" by base metal clays a few months ago, I went ahead and tried a new brand on the recommendation of jewelry artist Evelyn Pelati.  I went with FastFire BRONZclay by Metal Adventure and was happy with the results for a variety of reasons.  Here are a few...

To begin with the obvious, it fires fast.  It takes an hour to ramp and an hour to fire.  It is a one phase fire, so set the kiln and forget it.  I was looking for a base metal clay to use with multiple classes, so I do not always have the luxury of being able to run a multi-phase firing during my teaching schedule.  This allows me to not have to return to run a firing on my own time. 

There is the other obvious of the price, with bronze clays being around 30 cents a gram and silver clays being more than $2 a gram, it is the most economical, especially for introducing it to a large class.

The firing directions are clear and easy, particularly if this is your first attempt at base metal clays.  The descriptions of what you will find out of the kiln and what that means for your firing temperatures are also clear.  I was able to figure out my firing schedule after just two test fires, though I have had to make adjustments based on running a whole class worth of pieces at a time.

I have also been able to successfully fire in a ceramic firing vessel.  Since I am flip-flopping between silver and bronze, depending on the class, I am running multiple firings a day.  When you fire in a steel pan there is a black flake sort of fire scale that needs to be vacuumed from the kiln after your firings.  With a ceramic vessel, there is no evidence of the base metal firing.

Last, the workability of the clay has been great.  It has a silky flexibility that makes it great for draping and forgiving for students just learning to work with it.  When it dries, it is easy to reconstitute and continue working.

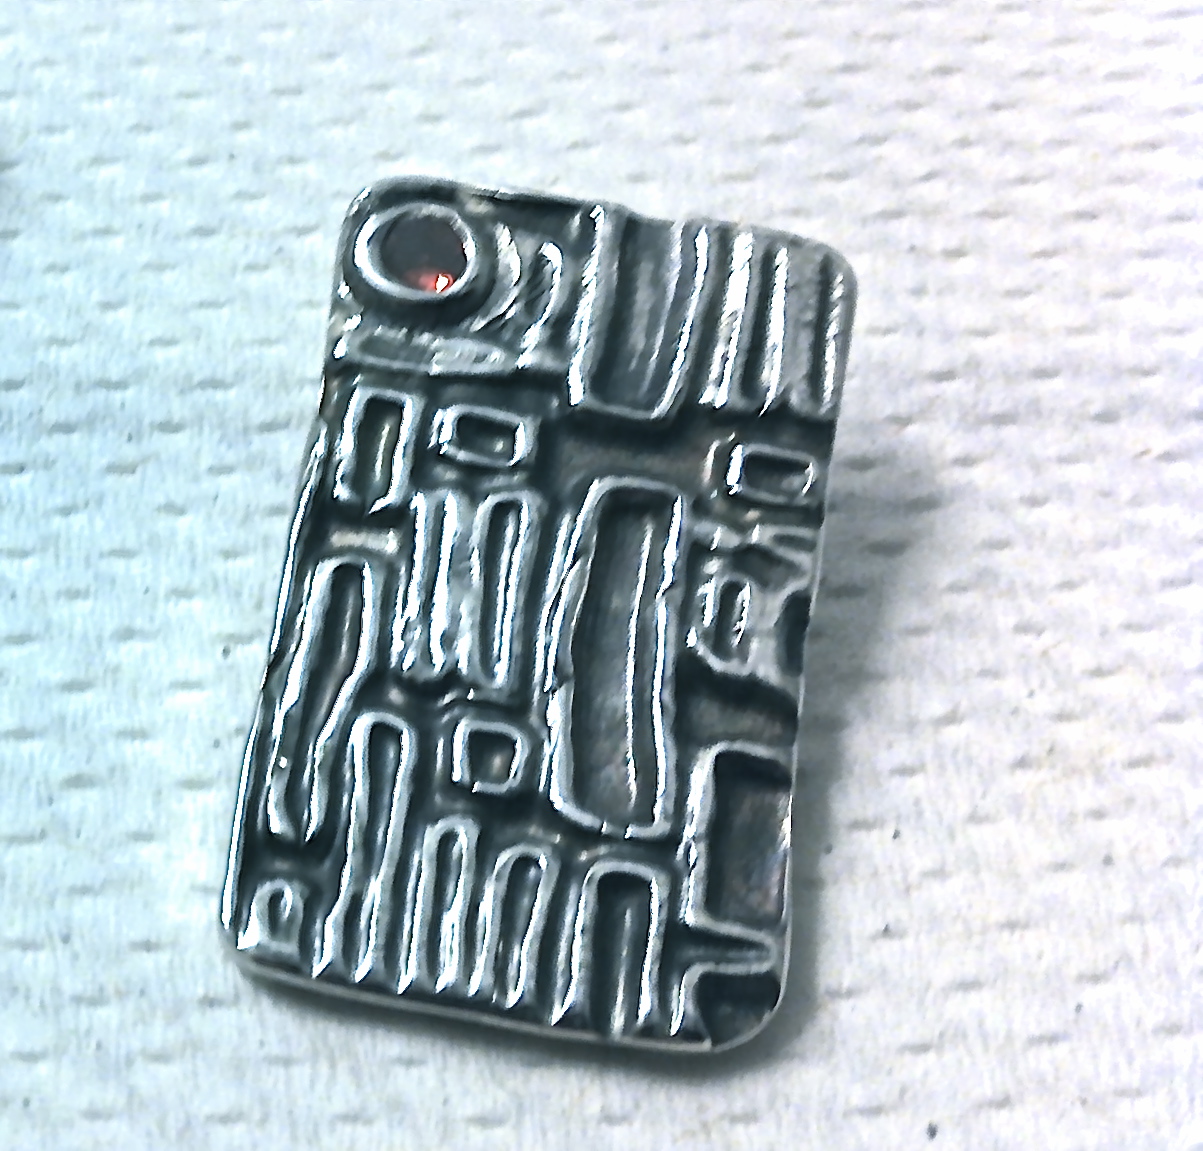
These were a couple of quick test pieces where the clay was rolled into scratch foam designs and run through the firing.  The bronze has a warm gold hue and nice weight once fully sintered.  


Sunday, May 19, 2013

Carving in Metal Clay


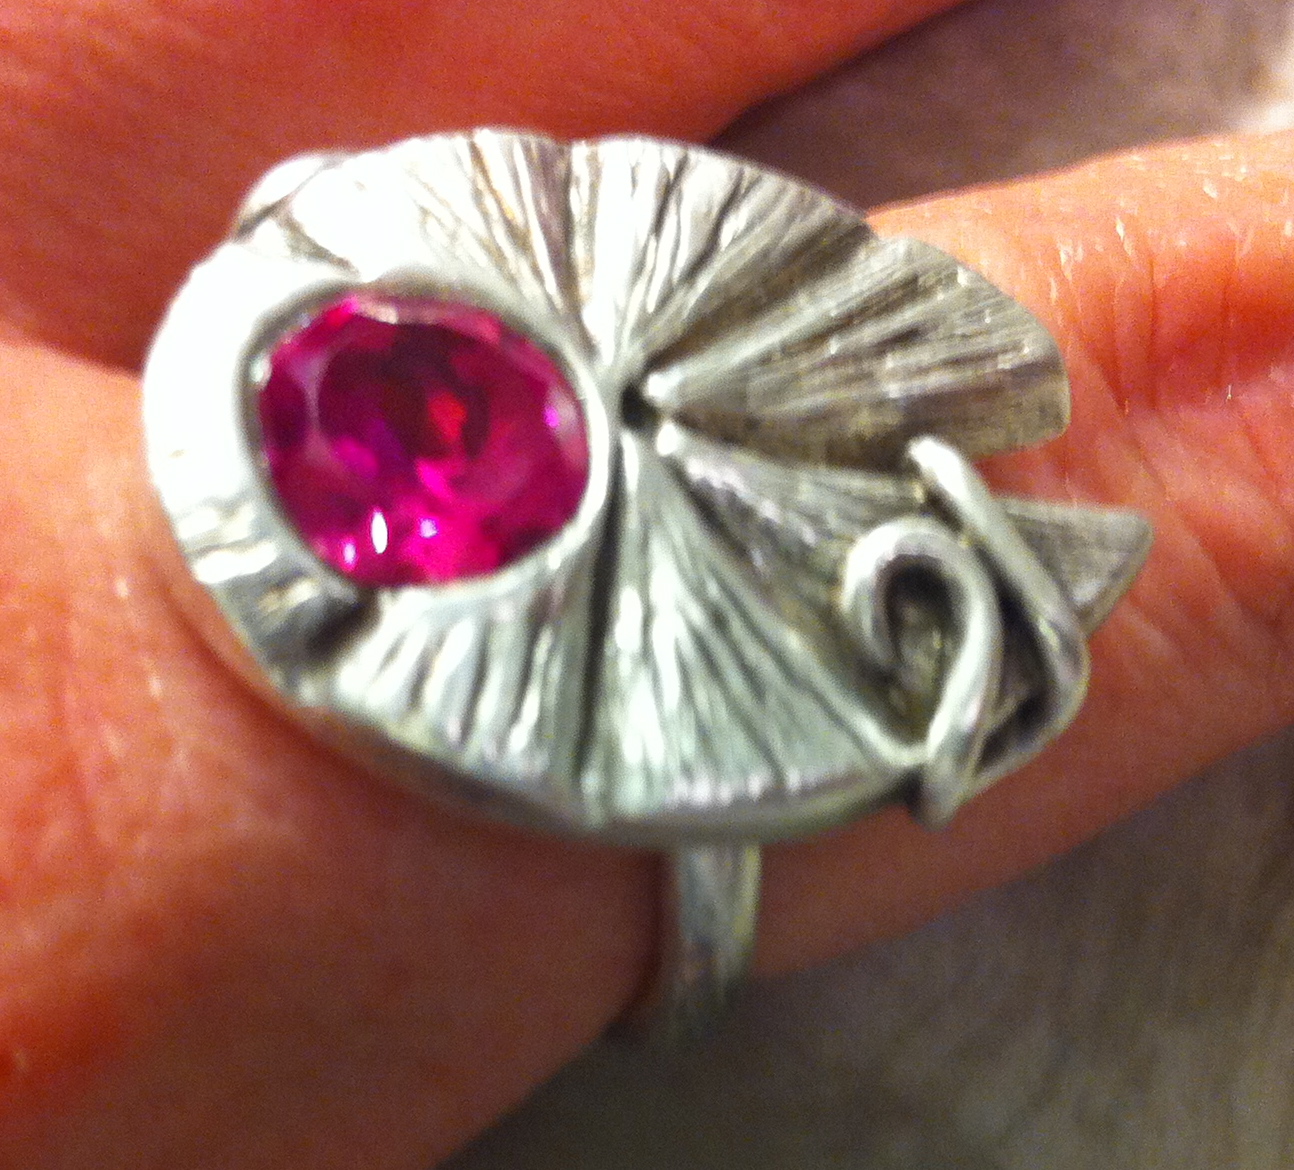
This week's challenge was to translate a carved design into the top of a ring.  I was inspired by this bright pink 8mm CZ and couldn't resist the temptation to nestle it safely into a lily pad.  The perfect pink floral accent to the top of this piece.  I balled up my clay and squished it into a flat pancake the same height as the CZ.  I poked a hole with a straw and sank the CZ in until the top of the clay surrounded it.  I then cut out my initial shape of the lily pad and let it dry.  Once bone dry, the clay is very easy to carve, especially at this thickness.  I find that small diamond files are the best carving tools in this dry material.  It has a similar feel to plaster carving.  I began with my general design and deeper lines and then carved the more detailed texture, each time lightly scratching or "drawing" in my design before begining to file.  The secret is no pressure.  The tools are sharp and just need to be trusted to do their job.  I added a coil to keep the eye moving around the piece and finished the ring with a liver of sulfur patina to bring out the richness of the texture.

Sunday, May 5, 2013

On the Road...

Taking the studio on the road this week, I found myself surrounded by some great local artisans at Get Baked Bakery in Windsor Center.  It was a delicious celebration of Art and Spring!  Thanks to all the familiar faces who braved the beautiful weather to stop by and say hi :-)  Looking forward to showing with all these fine artists again!

Sunday, March 24, 2013

Liver of Sulfur Patina


That great antiqued look that really gives textured metal a sense of depth often comes from a simple (and super quick) patina of Liver of Sulfur.  Liver of Sulfur comes in dry lump form and gel form.  The dry lump form has a shorter shelf life, impacted by light and moisture, though kept in light proof and dry conditions I have had no problem with it working long term.  Below are images of my use of Liver of Sulfur to patina some recent pieces, obviously you should follow the directions that come with the brand you purchase, but you can get an idea of the process and results from the below post.


I tend to use glass bowls when working with different chemicals in order to reduce the potential for reaction and ensure they are able to be cleaned when done.  Remember, once something has been used in the art studio, it should never go back to the kitchen for food use. Liver of Sulfur should be used in a well ventilated area because it stinks (like sulfur).  Either your Liver of Sulfur solution or the metal should be hot in order to improve the reaction.  Depending on how strong you mix the solution, metal in the general area (like rings on the hand mixing the solution) can react to it in the air, so consider removing your own jewelry before you begin.  

I dissolved a small lump (a very small pea-sized piece) of Liver of Sulfur in about a cup of very hot (not boiling) water in a glass dish.  In the dish next to it I had cold water and Baking Soda to serve as a stop-bath.  I ran yarn through the bails to keep my fingers clean, dropped each piece in, it only takes seconds to get a rich black, pulled them out and dropped them in the stop-bath.  Liver of Sulfur has a wonderful range of iridescent blue to deepest black, so if you watch it close you can pull the piece out and stop the reaction at the exact color you are looking for.  After a quick dip in the stop-bath, they are rinsed, dried and ready to be finished.


Above, you can see that the pieces have a rich black patina, so it is time to start bringing back the highlights to show all the depth in the texture.  I prefer to use very fine steel wool to buff the raised areas of the piece.  Below you can see a finished piece with more defined texture and antiqued look.  Remember to follow the recommendations on the package for disposal of Liver of Sulfur solution once you are finished with it.  The best part is that if you are unhappy with it, you can toss the piece back in the tumbler (or go at it with any variety of buffing/sanding tools) and strip the patina off to start again.


Sunday, March 10, 2013

Barrel Bails


I recently spent some time playing with designs for barrel shaped bails that would sit behind and on top of small geometric pendants I had been creating.  They were all part of a small series that I wanted to keep unified, so I needed a versatile design that would fit the varying shapes, while staying visually cohesive.  For these pieces, I began by rolling out a sheet of metal clay 3 cards thick.  I cut it into a long rectangle, wrapped it around a straw I had rubbed with olive oil and sealed it's seam.  I let it stiffen up for just a few minutes before beginning to slice it on the straw.  I held my knife in place and rolled the straw to get an even cut.  I then spaced out each of the pieces and set them to dry in place on the straw.  Once they were bone dry, I gently slid them off and sanded them before attaching them to my dried pendants with slip.  Starting with the longer piece and cutting it apart allowed me to make several pieces at once and vary their sizes to fit the individual pendants they would be attached to.  It was important to cut them on the straw in order for the clay to stay supported and not collapse under the pressure of the knife due to its hollow center.

Sunday, February 24, 2013

Whimsical Tree Mural


This week the studio went mobile as I traveled to do a very special mural for a very special little girl.  Working with her parents, we developed a whimsical tree with floating pink leaves to adorn her walls.  This sort of project is not nearly as intimidating as it may seem.  Decal Murals are pretty popular today, but also pricey.  The cost of paint for this project was under $25 and it was completed in one day.  Below you can see the stages of the mural's development.  You can see I started with a simple pencil sketch right on the wall, if you are not comfortable free-handing your image, project it on the wall and trace it.   


Keep the image and the color simple.  The tree trunk is done as a silhouette in brown, this was a huge time saver since I had only one day to complete this piece from start to finish.  I am using latex wall paint for the large brown area and Martha Stewart Pearl Accents Craft Paint for the leaves (the pearl paint has a really lovely shine as it picks up the light).  The larger leaves were done from stencils I cut from manilla folders and dry brushed multiple colors on at the same time.  There was a plan for the larger leaves and then it became more intuitive as I played with where the smaller leaves would float around the closet.  To fill in the rest (and save hours of time), I cut a medium and small leaf out of a sponge (just using scissors) and simply stamped them on the wall.  The finishing touch can be seen in the image on the below right, as that special little girl got put to work and left her own marks among the leaves.


Sunday, December 23, 2012

Alcohol Ink Patina on Metal Clay


As I got to the finishing stages of this series, I knew I wanted to really bring the texture out and that the best way to do that was with a patina.   Liver of Sulfur is a traditional way to get a variety of tones, but requires precise timing for colors beyond black and a strong stomach as it does stink up the immediate area.  In looking for another option, I began experimenting with alcohol ink on the recommendation of a friend and have really been happy with the results.  Alcohol inks are sold in the scrapbooking section of most craft stores.  They are a solvent based ink and work great on non-porous surfaces, from metal to glass to super glossy paper and they come in dozens of colors.  I wanted to antique this piece with turquoise tones to really draw on its references to the ocean.  I took my fired and polished pendant and just touched the tip of the ink bottle to the surface and let the ink run through the crevices of the texture.  It only takes a few moments to dry and then I start buffing it off with a super fine piece of steel wool.  I also like to dab a little on my maker's mark on the back to pronounce it a little more.  I clean up edges and brushes (if I use them) with rubbing alcohol.  Remember to protect anything you don't want to be stained by this ink, such as findings or stones.  Since I am using the ink as a patina that sits down inside the texture and all the ink has been removed from the surface, I do not seal it because it is no more likely to rub off than a liver of sulfur or other such patina.  


Sunday, December 16, 2012

Tumble & Shine


Once I resolved the bails on this small series of simple pendants, it was time to fire and tumble them.  When silver clay is fired it does not come out looking shiny and metallic.  When I first tried metal clay I thought I was under-firing it because it kept coming out white.  Now I know that white is simply the fire-scale on the surface of the metal (below left).  It easily comes off with a brass brush, but leaves the silver sort of matte and in need of polishing.  A tumbler is a great way to polish up your pieces (not just metal clay) and it serves to help work-harden your pieces.  It also softens burrs that might be on your metal.  Tumblers range in price, I use the small inexpensive one above and can fit a number of pieces into it.  It's a simple tool, fill the barrel halfway with stainless steel shot (bought with the tumbler), a small amount of cleaning solution (see what your instructions recommend), place your pieces and fill with water just above the shot.  I run the tumbler for 2-3 hours depending on the degree of tumbling the pieces appear to need.  Below you can see the difference from the white fire-scale to the shine out of the tumbler.  A word of caution, soft materials such as pearls and turquoise may react badly with your cleaning solution, so know its compatibility and be sure precious metals are actually precious or the stainless steel shot may reveal more than a high shine!


Sunday, December 9, 2012

Hidden Bails in Metal Clay


For the largest pieces in this series, I decided I did not want the bail to become a decorative element.  It was important for these pieces to maintain their simplicity and that meant building hidden bails for them.  I rolled out my clay and decided an elongated oval would be the best shape and cut it to the length of the entire back.  I chose to wrap it around a straw and made sure it had been rubbed with olive oil to prevent the clay from sticking.  After cutting the oval, I slid my pin tool under one end and gently lifted the piece off my working mat.  I draped it over the straw and gave it a moment to set up.  I wet the back of my piece and placed pasted where the two ends of the bail would come into contact with the pendant.  I lifted the straw and placed the bail, gently pressing each end to secure it and cleaned up around its edges.  Once the piece began to dry enough so it would hold its form, I gently twisted the straw as I pulled it out.  I didn't want to wait until it was completely dry because I was concerned it would shrink too tight around the straw.  

Sunday, November 25, 2012

Coil Bails in Metal Clay


After exploring wire bails (discussed in last week's post) for the smallest pieces in this series, I thought I would work with coil bails for the mid-size ones.  With the intention of integrating the bails into the design of these pendants, I am looking at ways to hang them that go beyond drilling a hole and inserting a jump ring.  If you haven't rolled coils in metal clay, below are images of my two best tips.    Of course, remember to lube your working surface and any tools that will apply pressure to your clay so they will release and not tear.  I continue to find success with just simple Olive Oil.  On the left, I am using an acrylic block to roll the coils out after starting them with my fingers.  This method seems to keep the coils more even on their tiny, fragile scale and prevents your hands from wicking moisture out of them.  Second, keep them damp!  Spritz coils or  lightly brush with water to keep them flexible, they dry quickly and if you see stress cracks starting, I generally find it's time to start again.


In the images below, I have rolled out fresh clay coils and attached them to greenware (dried clay) pieces.  For coil bails, I roll the coils out one at a time and use them immediately due to their quickness to dry out.  Once I have the coil the length I am aiming for, I flatten one end with my finger.  I paint a small amount of paste where the coil will attach on the back  of my piece. Next, I slip a tool (such as a pin tool) under one end and slide along it to lift the coil with a little more control.  I place the flattened end on the paste and press firmly in place.  After gently flipping the piece, I dampen the coil with water on a brush so it does not crack as I bend it.  I lay a straw lubed with olive oil on top of the coil and paint paste where it will attach on the surface.  I then gently lift the coil around and press it to the front.  You might keep it simple and mimic the back design where it is flattened or you could spiral the tail in to be more decorative.  As I attach it, I go back in with a rubber shaper tool, I clean up the areas I attach as much as possible before it starts to dry.  I try not to move them until until they have set up a bit and then place them on a mug warmer to dry out.  Once the color changes to a dry looking white, I gently twist the straw while pulling it out.  Remember, as the clay dries it shrinks, so removing the straw as soon as possible will lessen the chance of it cracking your fragile, unfired coil.  The bail being built below is shown at the top of this post fired.


Sunday, November 18, 2012

Wire Bails with Metal Clay


I have been creating a series of smaller circle pendants, some domed and some flat.  They are delicate forms and I was determined to integrate the bail into their design, as opposed to simply drilling a hole and inserting a jump ring.  Their small size and domed form made both a coil or hidden bail difficult.  I then thought this would be a great time to explore incorporating fine silver wire into my fine silver metal clay.  I had worked with embedding fine silver wire into the clay, but not attaching it to the surface and thought this was the opportune time.

I planned out my design in string, taking into account the loop the chain would pass through and the area that would need to adhere flat to the back of the pendent.  I then used the string to measure and cut this short length of 18g round fine silver wire (fig. 1 below).  Once cut, I tightly spiraled one end and openly looped the other in a sort of fancy looking "S" shape (fig. 2 below).  To further transform the wire, I decided to hammer it flat.  I placed my "S" shape on a metal surface and hammered it flat in just a few hits leaving a wider version of the "S" (fig. 3 below).  Finally,   I needed to twist the bail so that the spiral would lay flat on the back of the form and the open loop would allow the chain to pass through.  I grabbed both ends of the "S" with flat nosed pliers.  Holding firm with the pliers clamped onto the tight spiral, I gently twisted the open loop about 45 degrees (fig. 4 below).  Keep in mind that the pliers should be smooth, if they have any sort of grip or "teeth" they will mark up your wire.  It can be cumbersome to wrap the wire in something to protect it, so I find that some duct tape wrapped around the teeth on the pliers is enough of a cushion to prevent this and can be removed/replaced as needed.

To attach the bail to the piece, I began by wetting the spot where I wanted it to adhere.  I then painted paste on the back of the wire and firmly pushed it down.  When the paste escaped through the spiral, I released and allowed it to set up for just a few minutes (below right image).  I then took a damp brush and smoothed out the paste, knowing it would be very difficult to sand this fragile area before firing.  The spiral serves as more than just decorative since it provides open spaces for the paste to cling to and fill in, strengthening the connection.  The back of the final fired form is above.  Visit my jewelry site to see other views and versions.


Sunday, November 11, 2012

Maker's Mark in Metal Clay


This series of small circular pendants has given me a number of different elements to explore that were simply not much of a notion with my more sculptural organic forms.  In addition to playing with resolving bails with these traditional forms, I began to consider stamping their quality to ensure they were not confused with a base metal clay.  I found a company that sold quality stamps for all metal clays and did custom tiny metal clay stamps, from signatures to logos to photos.  I used www.MetalClays.com and had a super positive experience.  They have great images and videos on their site if you want to really see their products in action before purchasing, with clear instructions on creating the logo stamp.  

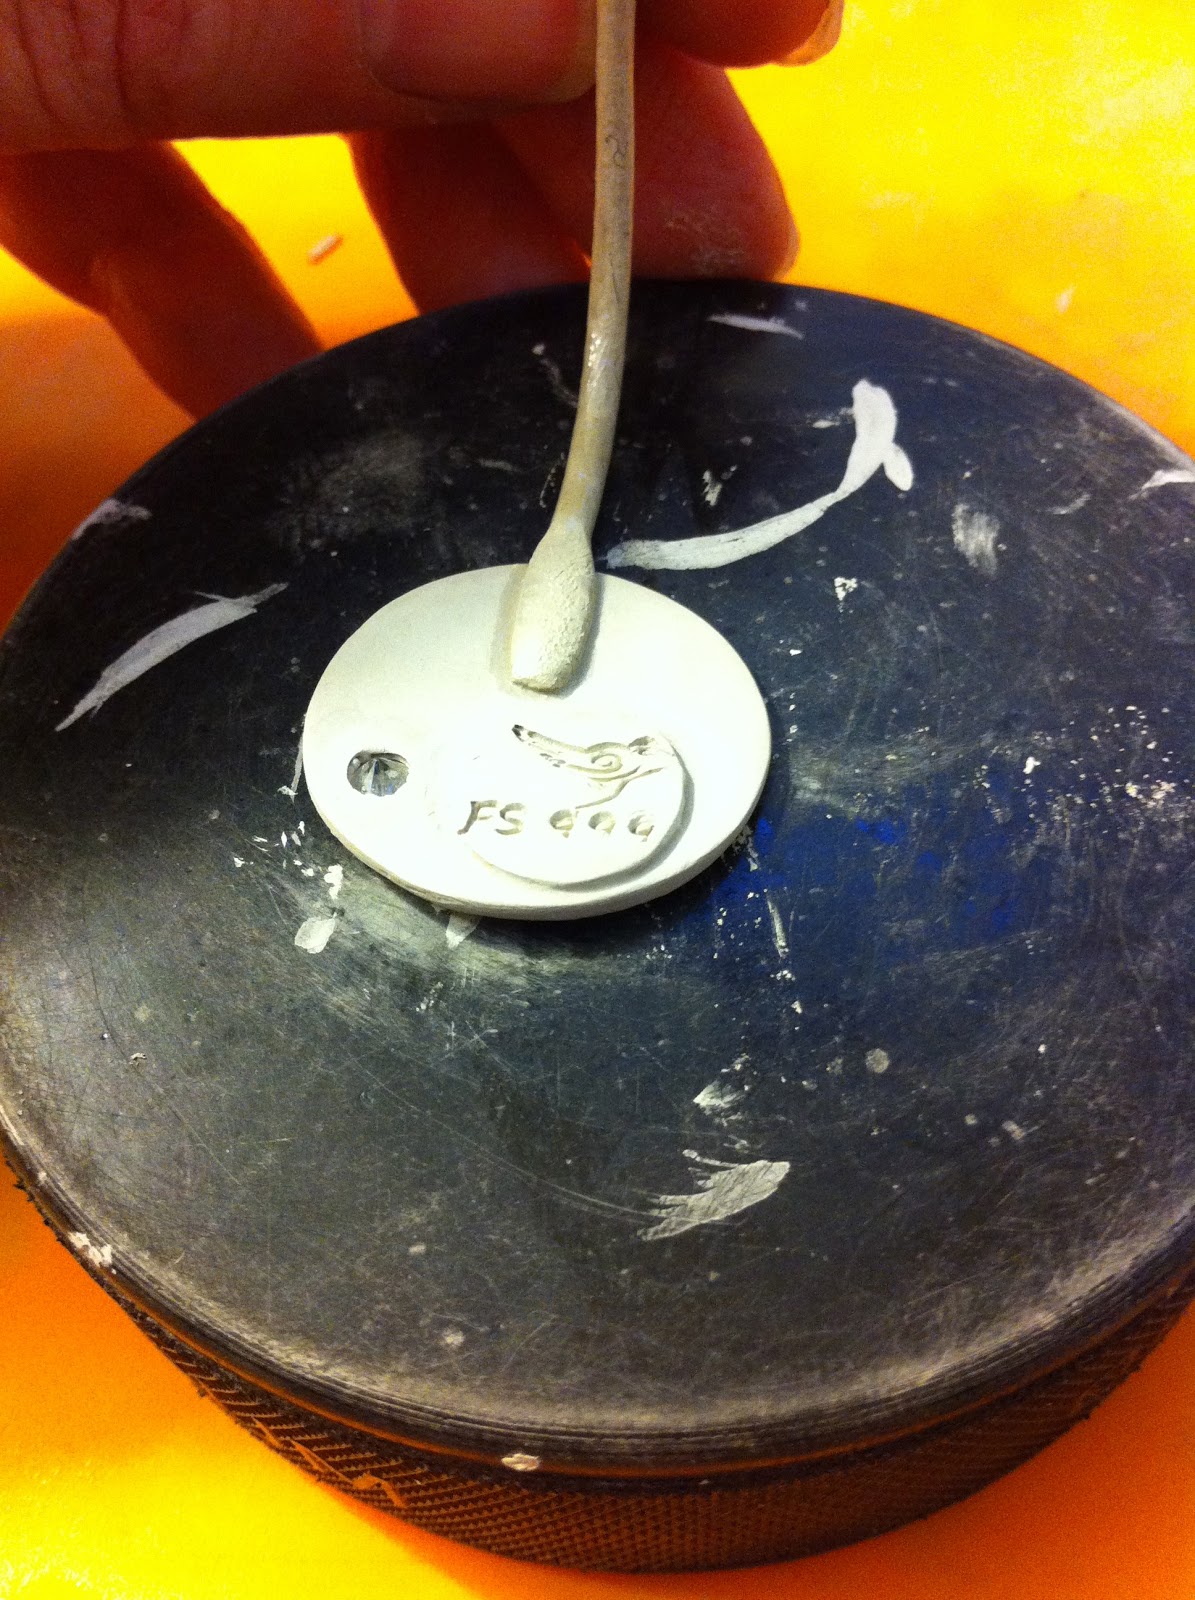
As you can see above, I ordered a custom stamp with my logo and a Fine Silver (FS999) quality stamp.  The stamps arrived after I had begun this series, so I thought I would try to make a bunch of small medallion-like pieces to paste on the back of the already dried forms.  As you can see from the image above, they were considerably smaller than a water bottle cap, which is perfect for the back of the jewelry.  It took some experimenting to figure the correct amount of pressure and rocking motion to get a clean stamp, but eventually I got the hang of it.  I stamped my logo, lined up the quality mark and used a tight circle template to encase them.  Due to its small scale, attaching the wet pieces without smooshing the design became more time consuming than I wanted.  Since these pieces were domed, I had to attach the stamped medallions while they were wet since the forms themselves were already in the greenware stage.  In the future, I would save this method of making a separate stamped piece and attaching to the back for flat pieces where I can attach two stable dried forms.  On curved or other difficult surfaces, I would stamp right into it while building it.  Below you can see the logo image I sent them and the dried stamped form before firing.  Check out my Wire Bails post from last week for a good image of it fired.


Sunday, October 14, 2012

Pasting Organic Forms in Metal Clay


It's fall in New England, so all around me I am witnessing the natural world prepare for its long Winter's nap.  What I am most drawn to are these dry, lace-like pods that litter the ground.  They have burst and shriveled, after laying the seeds for next year.  I find it hard to resist collecting them, their complex cavities offer so much on such a small level.  

Dried Fall Pods

Building Up the Paste
Working with metal clay, pasting is often a one-dimensional endeavor.  You paint the metal paste on an object in order to fire it and be left with the side that was in contact with the texture, but nothing from the side you built up.  How could I capture the intricacies of this incredible little object?  They are so fragile that making a mold seemed futile and out of the question.  Having been inspired by the porcelain work of my good friend Erica Nickol, I thought why not dip it?  What if the metal clay paste was so thin it could saturate the pod and slowly build up in layers?  So I began experimenting with the silver clay paste and found that the consistency of half and half was just right.  Mixing a single gram of paste with just enough water for it to become a flowing liquid.  The piece had to be hung (over a bowl to capture and recycle drippings) and dry between each layer.  This is the sort of project best done on the side while each layer slowly builds up.  There will come a point where the layers are thick enough that the piece holds its form when saturated and that's the sign to paint on two or three layers of the regular thickness of paste and be done.  The piece below was set with a clear 4mm CZ before firing.  After being tumbled, I gave it a gray patina with liver of sulfur and wrapped it with silver plated colored wire as an accent  Firing the piece on a fiber blanket served as enough of a "pillow" to hold its form.  Check out the final piece above!


Sunday, September 30, 2012

Welcome to the Studio


Welcome to Silver Magpie Studio.  In the last 15 years, my studio has made its home in a lot of different spaces.  Some had a ton of space, some had a ton of mice, some had a lot of noise, most were just plain cold, some were in cities, one was way out in the country, three times I found myself in converted old factories, and there was even one very creepy attic.  As I approach the second anniversary of what I hope to be my final studio move, I figure it is the best place to begin this blog - just a little glimpse into the space where I begin each piece.  A peaceful space that is open and warm with light that floods in from a wall of windows which overlook the natural environment that inspires many of my pieces.   Check back as I share what I'm working on each week in the studio and watch pieces evolve from their very beginnings.