Sunday, November 25, 2012

Coil Bails in Metal Clay


After exploring wire bails (discussed in last week's post) for the smallest pieces in this series, I thought I would work with coil bails for the mid-size ones.  With the intention of integrating the bails into the design of these pendants, I am looking at ways to hang them that go beyond drilling a hole and inserting a jump ring.  If you haven't rolled coils in metal clay, below are images of my two best tips.    Of course, remember to lube your working surface and any tools that will apply pressure to your clay so they will release and not tear.  I continue to find success with just simple Olive Oil.  On the left, I am using an acrylic block to roll the coils out after starting them with my fingers.  This method seems to keep the coils more even on their tiny, fragile scale and prevents your hands from wicking moisture out of them.  Second, keep them damp!  Spritz coils or  lightly brush with water to keep them flexible, they dry quickly and if you see stress cracks starting, I generally find it's time to start again.


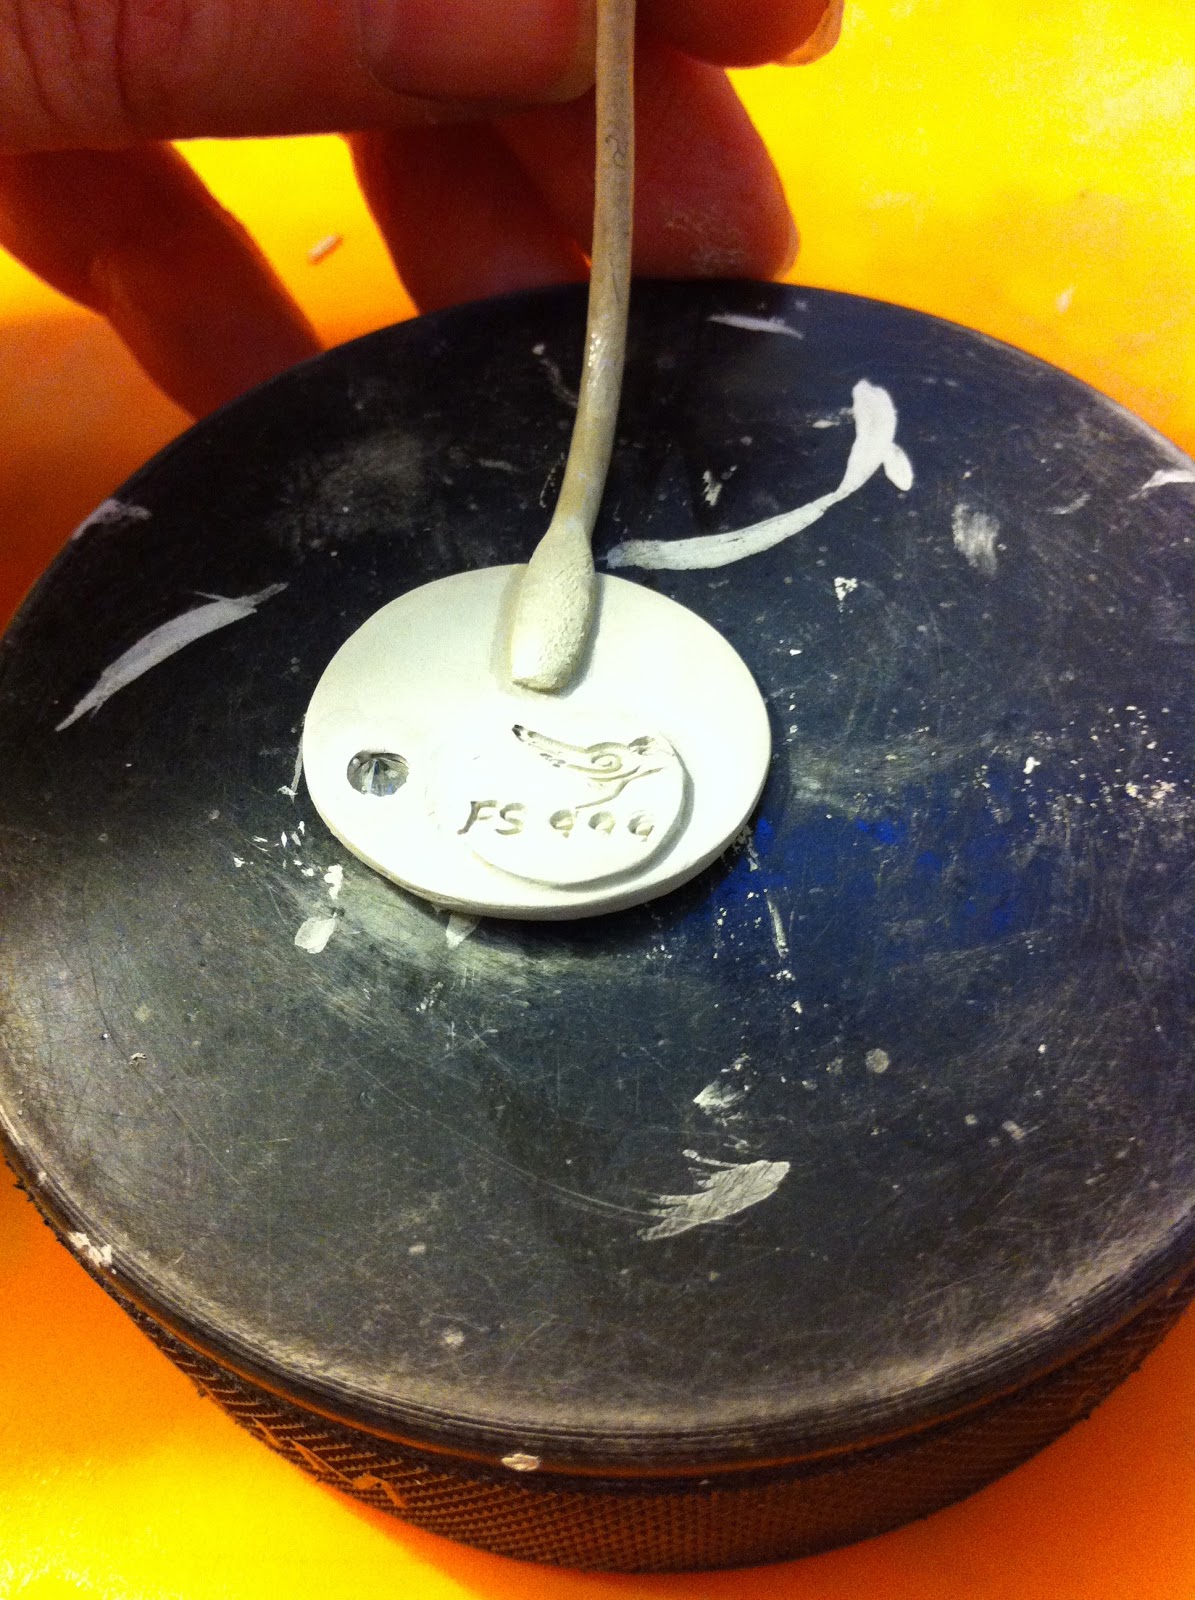
In the images below, I have rolled out fresh clay coils and attached them to greenware (dried clay) pieces.  For coil bails, I roll the coils out one at a time and use them immediately due to their quickness to dry out.  Once I have the coil the length I am aiming for, I flatten one end with my finger.  I paint a small amount of paste where the coil will attach on the back  of my piece. Next, I slip a tool (such as a pin tool) under one end and slide along it to lift the coil with a little more control.  I place the flattened end on the paste and press firmly in place.  After gently flipping the piece, I dampen the coil with water on a brush so it does not crack as I bend it.  I lay a straw lubed with olive oil on top of the coil and paint paste where it will attach on the surface.  I then gently lift the coil around and press it to the front.  You might keep it simple and mimic the back design where it is flattened or you could spiral the tail in to be more decorative.  As I attach it, I go back in with a rubber shaper tool, I clean up the areas I attach as much as possible before it starts to dry.  I try not to move them until until they have set up a bit and then place them on a mug warmer to dry out.  Once the color changes to a dry looking white, I gently twist the straw while pulling it out.  Remember, as the clay dries it shrinks, so removing the straw as soon as possible will lessen the chance of it cracking your fragile, unfired coil.  The bail being built below is shown at the top of this post fired.


Sunday, November 18, 2012

Wire Bails with Metal Clay


I have been creating a series of smaller circle pendants, some domed and some flat.  They are delicate forms and I was determined to integrate the bail into their design, as opposed to simply drilling a hole and inserting a jump ring.  Their small size and domed form made both a coil or hidden bail difficult.  I then thought this would be a great time to explore incorporating fine silver wire into my fine silver metal clay.  I had worked with embedding fine silver wire into the clay, but not attaching it to the surface and thought this was the opportune time.

I planned out my design in string, taking into account the loop the chain would pass through and the area that would need to adhere flat to the back of the pendent.  I then used the string to measure and cut this short length of 18g round fine silver wire (fig. 1 below).  Once cut, I tightly spiraled one end and openly looped the other in a sort of fancy looking "S" shape (fig. 2 below).  To further transform the wire, I decided to hammer it flat.  I placed my "S" shape on a metal surface and hammered it flat in just a few hits leaving a wider version of the "S" (fig. 3 below).  Finally,   I needed to twist the bail so that the spiral would lay flat on the back of the form and the open loop would allow the chain to pass through.  I grabbed both ends of the "S" with flat nosed pliers.  Holding firm with the pliers clamped onto the tight spiral, I gently twisted the open loop about 45 degrees (fig. 4 below).  Keep in mind that the pliers should be smooth, if they have any sort of grip or "teeth" they will mark up your wire.  It can be cumbersome to wrap the wire in something to protect it, so I find that some duct tape wrapped around the teeth on the pliers is enough of a cushion to prevent this and can be removed/replaced as needed.

To attach the bail to the piece, I began by wetting the spot where I wanted it to adhere.  I then painted paste on the back of the wire and firmly pushed it down.  When the paste escaped through the spiral, I released and allowed it to set up for just a few minutes (below right image).  I then took a damp brush and smoothed out the paste, knowing it would be very difficult to sand this fragile area before firing.  The spiral serves as more than just decorative since it provides open spaces for the paste to cling to and fill in, strengthening the connection.  The back of the final fired form is above.  Visit my jewelry site to see other views and versions.


Sunday, November 11, 2012

Maker's Mark in Metal Clay


This series of small circular pendants has given me a number of different elements to explore that were simply not much of a notion with my more sculptural organic forms.  In addition to playing with resolving bails with these traditional forms, I began to consider stamping their quality to ensure they were not confused with a base metal clay.  I found a company that sold quality stamps for all metal clays and did custom tiny metal clay stamps, from signatures to logos to photos.  I used www.MetalClays.com and had a super positive experience.  They have great images and videos on their site if you want to really see their products in action before purchasing, with clear instructions on creating the logo stamp.  

As you can see above, I ordered a custom stamp with my logo and a Fine Silver (FS999) quality stamp.  The stamps arrived after I had begun this series, so I thought I would try to make a bunch of small medallion-like pieces to paste on the back of the already dried forms.  As you can see from the image above, they were considerably smaller than a water bottle cap, which is perfect for the back of the jewelry.  It took some experimenting to figure the correct amount of pressure and rocking motion to get a clean stamp, but eventually I got the hang of it.  I stamped my logo, lined up the quality mark and used a tight circle template to encase them.  Due to its small scale, attaching the wet pieces without smooshing the design became more time consuming than I wanted.  Since these pieces were domed, I had to attach the stamped medallions while they were wet since the forms themselves were already in the greenware stage.  In the future, I would save this method of making a separate stamped piece and attaching to the back for flat pieces where I can attach two stable dried forms.  On curved or other difficult surfaces, I would stamp right into it while building it.  Below you can see the logo image I sent them and the dried stamped form before firing.  Check out my Wire Bails post from last week for a good image of it fired.


Sunday, November 4, 2012

Transformed


Last week's post referenced Ernst Haeckel's Art Forms in Nature, which is an intriguing look at biological forms.  Haeckel asked the viewer to look more closely at fantastical biological forms that were often overlooked, there by transforming preconceived notions of what certain things ought to look like.  For this piece, I found myself drawn in by that very same idea of seeing something otherwise forgotten.  While out collecting pods for more pieces, I grabbed a couple of small mushrooms whose texture was irresistible.  As they dried, they curled in on themselves, forming their own sort of cocoon.  I continued using the metal clay slip-dipping method, but was met with very different results.  To begin with, mushrooms are very spongey.  Unlike the paper thin pods that quickly absorbed and then built up the metal clay layers, there seemed to be no end to the amount of metal clay slip the mushrooms would absorb.  Next, continuing to wet the mushrooms with paste began to smell a little like I was raising pigs in my studio.  I began with three mushrooms, but ended up with just one piece.  The first catastrophe occurred before firing as I tried to drill into the delicate form in order to create a channel for the chain, it split into pieces that were not worth repairing.  I was able to soak the mushroom in water and remove the majority of the paste in order to recycle the metal clay for future use.  As you can see below, two mushroom forms made it into the kiln, the smaller of the two with a fine silver wire running through it in order to build a bail after it was fired and avoid trying to drill my way into a second disaster.  After firing, and tumbling, I began trying to manipulate the wire and realized the smaller form was too soft and the spongey mushroom had not sintered properly.  I bent the form back and forth until it cracked and got a look inside of the incomplete layers.  The third piece in this series held up.  A little larger, with deeper textured grooves to hold the paste, this form seems to be the right balance of paste and organic matter.  The center is set with a marquise cut 4 mm green CZ, mimicking the oblong form.  The beautiful texture is further pronounced by a patina of alcohol inks in green and red, a subtle nod to the fall day this form was discovered.