Sunday, April 13, 2014

Etched Copper Cuffs


Last summer I wrote a series of posts on metal etching to go with the demonstration I was leading at the Metal Clay Artisan Guild in CT's July meeting.  Part 1:  The Resist, Part 2: The "Salt" Etch, and Part 3:  DIY Texture Plates covered the step by step process I use to etch.  These posts were geared towards creating texture plates for printing on metal clay.  

This past month my advanced jewelry students used this same technique to create these awesome etched copper cuff bracelets.  After piercing and etching the copper sheet they used liver of sulfur to create a patina to really bring their etched surfaces out.  Finally, the bracelets were finished with a clear coat of Rust-oleum Automotive Clear Coat to seal the surfaces they had created.  This is generally what I have students seal their work with when using base metals in jewelry class.  It is inexpensive, covers smoothly and maintains the surface they have worked so hard to achieve.  It also seems to help protect the skin on those who seem to have some sensitivity to base metals.  


Sunday, March 23, 2014

1000 beads


Really excited to receive my copy of 1000 beads in the mail this week and even more excited to be included in it!  This is one of my favorite pieces and while it has since sold, I had the good sense to have a great friend photograph it before it left the studio.   The making of it was featured in one of my early blog posts, which can be viewed here.  Lark Crafts publishes quality jewelry books that serve as inspiration to my students. The caliber of work in this volume is no exception, making it a truly humbling experience to have been selected by juror Kristina Logan to be included.


Sunday, March 9, 2014

Winter's Work


I have a wonderful and warm studio to work in, but it can still be tough during the long winter months to stay motivated.  This is often a time I turn to pieces that have been abandoned during the year and try to problem solve them to resolution.  This little hollow pod had much potential, but I was struggling with how to resolve a large hole torn in the bottom.  A CZ rolling around my bench served as the perfect inspiration!  I even enclosed a few on the inside so that it jingles when you shake it.

Sunday, February 23, 2014

RaceCar Jewelry Company

I made the trip to Pawtucket, RI last week to visit RaceCar Jewelry Company with some members of the Metal Clay Artisan Guild in CT and returned excited about the potential it may hold for those of us looking to expand our potential market.  RaceCar is a full service investment casting and finishing shop specializing in working with artists of all experience levels.  They were warm and inviting as we were given a tour of the facilities and walked step by step through the process from quoting to mold making to casting.  Jewelry Manufacturing Specialist Daniel Grandi took the time to review work that members had brought to discuss its potential for casing and what artists need to consider as they enter in this process.  The guild hopes to have Daniel join us as a future guest speaker.

Sunday, February 9, 2014

Gold Accents in Metal Clay


I love silver.  I always have.  Maybe it's because I have childhood memories of traveling to the southwest and seeing beautiful silver and turquoise work.  Maybe it's because there so many cultures from so many different parts of the world that have stories of silver that are incorporated into their mythologies.  I just know it is one of the materials I have always been drawn to.  That does not by any means make it the only material I work with.  Every once in a while, a piece calls for something more.  The piece featured in this post was inspired by "Pele's Hair", volcanic glass threads that are created when molten material is thrown into the air.  They look like piles of golden volcanic hair and called for some color accents to this piece.  


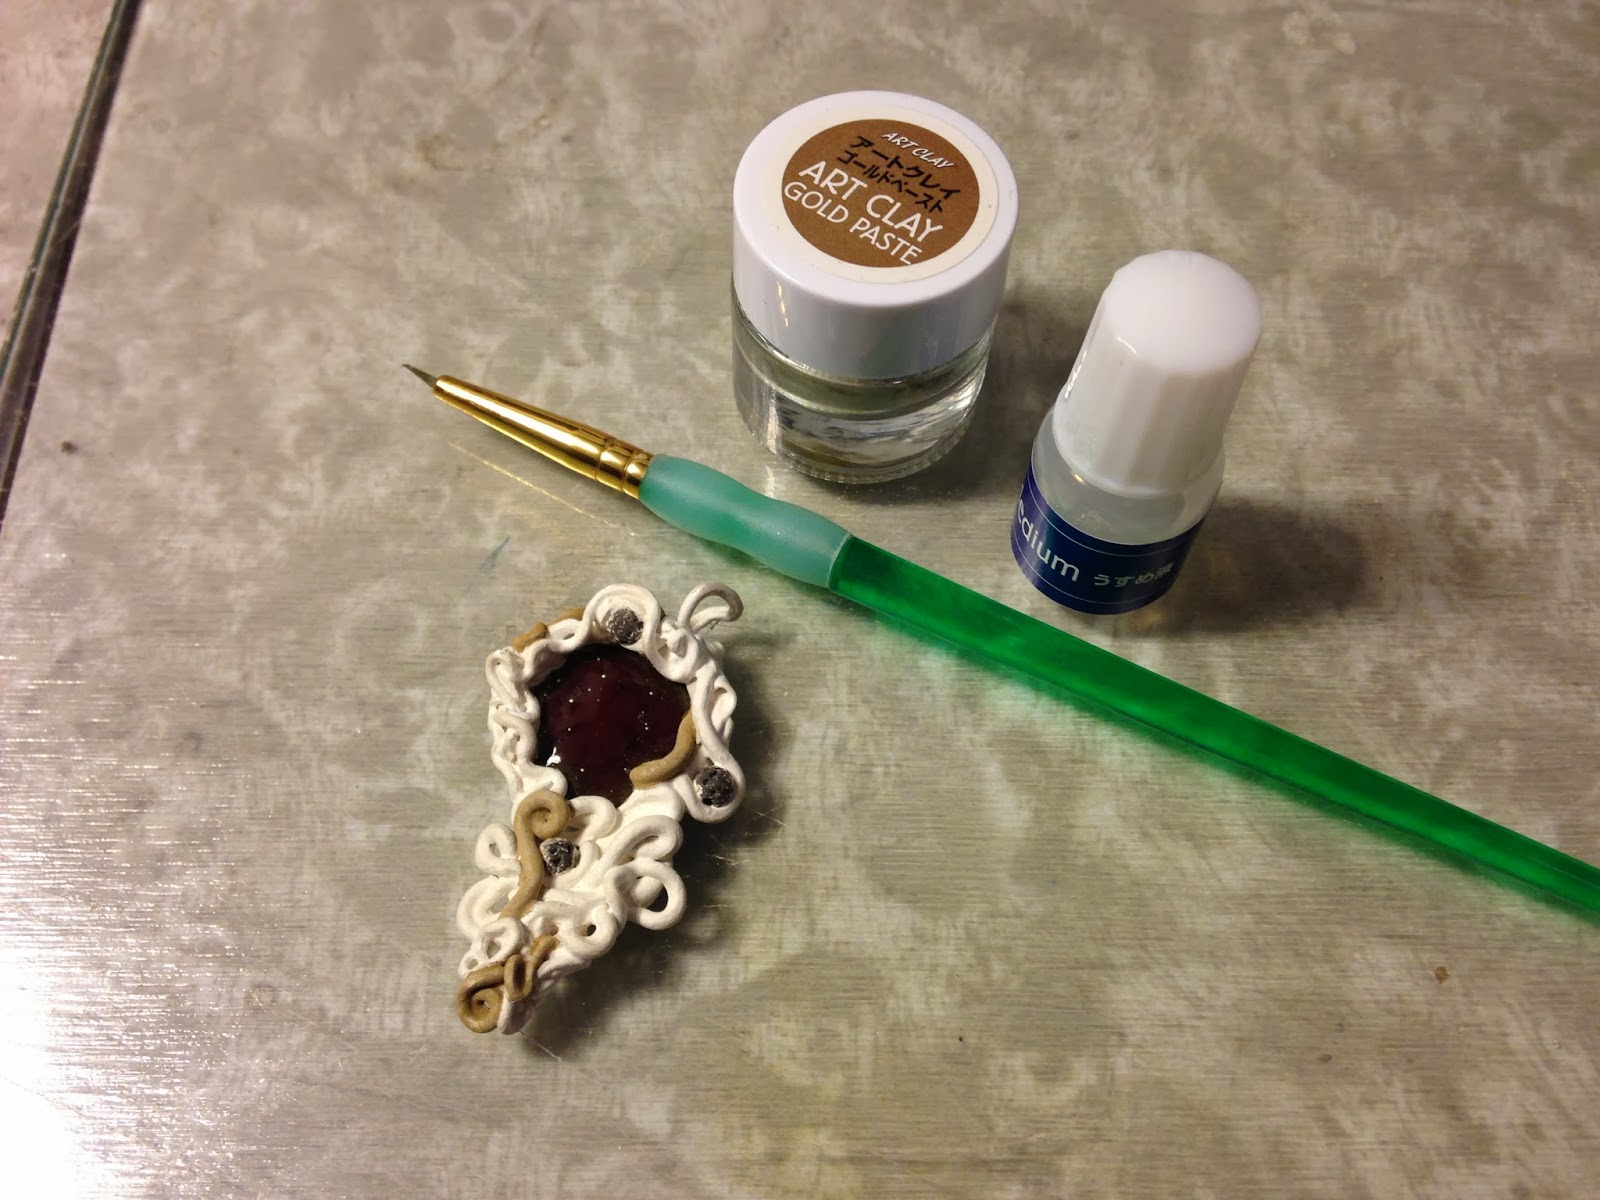
Before incorporating the gold, the base form was built using silver clay coils wrapped around black glass and volcanic beads.  The piece was fired in the kiln to burn out the clay binders and just leave the glass, beads and silver.  When silver comes out of the kiln, it has a matte white finish that is normally brushed to reveal the shining metallic surface, not in this case.  I applied overlay paste to the areas I wanted to accent.  Once dry, I slowly built up layers of the gold paste until it reached a mustard color.  At this point it can either be kiln fired or torch fired to burn out the binder and leave the gold.  The key is speed!  On the above right, there is an image of the piece glowing from the torch fire, once that glow appears (this is best done in the dark) you are only holding it for a few seconds.  Any longer and the gold and silver will melt together and you will lose your accent.  The more layers of paste, the deeper the color in the end.  Just like silver, after firing it will still be that matte mustard color and must be brushed to reveal its luster.

I used Art Clay Gold Paste over the fine silver to create these accents.  After firing the gold left is 22k and can be used on glass and porcelain, as well.  While this is a relatively affordable way to work with gold, at the end of the day it is real gold and you are still paying market price for it.  I initially worked with both gold paste and gold sheet in my senior certification class with Art Clay World.  The instructions that come with both are good and there are lots of great video tutorials online, but for the price of gold it is really something best introduced in a class with an experienced teacher.  It will save you frustrations and some very expensive experimenting!


Sunday, January 19, 2014

Safe Passage


Safe Passage

Mixed Media w/ One Channel Video Installation

174" x 54" x 54"

The last few weeks have been spent in my sculpture studio working on a piece for the Connecticut Culture Gallery in Terminal A at Bradley International Airport (across from the American Airlines Ticket Counter) sponsored by the Windsor Art Center and on view through March 1, 2014.  Below are a few in progress images from the studio.

To learn more about this installation, please visit my sculpture site by following this link.


Sunday, January 5, 2014

"Charming" for Charity


I am really proud to be working with such a great group of talented and generous artists in the Metal Clay Artisan Guild in CT.  We ended the year with a challenge for each of us to design and create a series of charms that represented our own unique artistic voices.  The charms were swapped at our year end celebration, with each person making an extra to donate to a bracelet we will be auctioning off for charity in the coming months.  My "Silver Bell" charm (which I shared the making of in my last post) is featured to the left of the bottom center charm.  The charms are set on a hand-wrought sterling silver bracelet created and donated by Bevlynn Gallant.   Proceeds for this piece will be going to Cystic Fibrosis which has recently impacted members of the guild.  

Auction information will be posted once finalized.